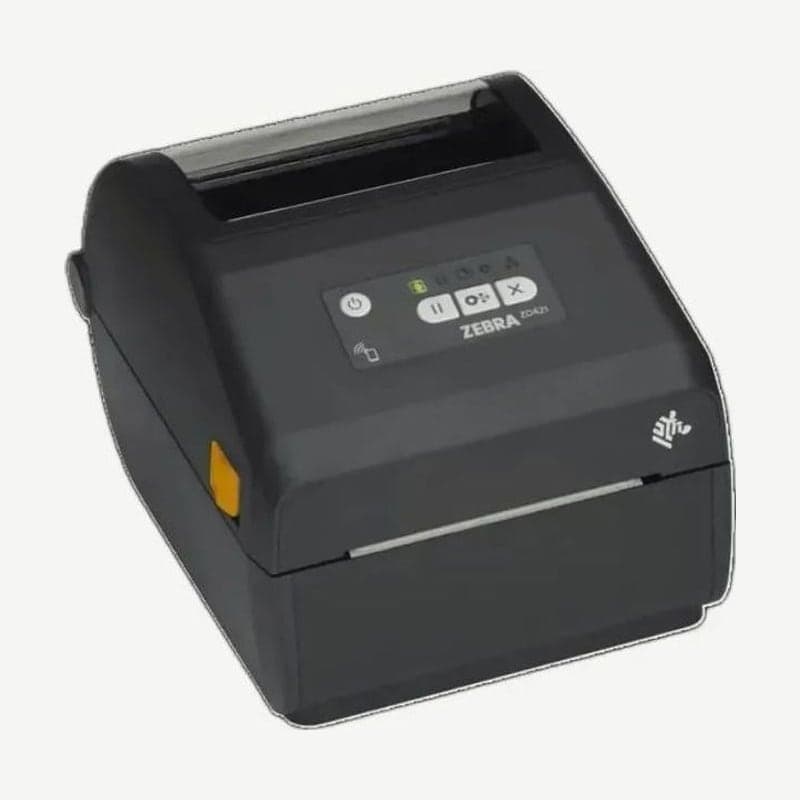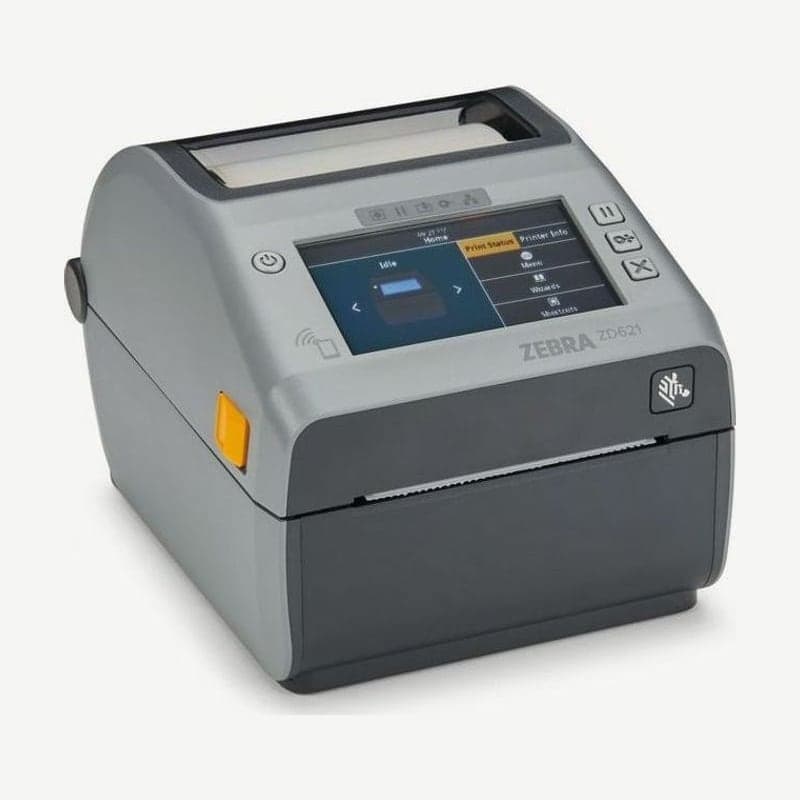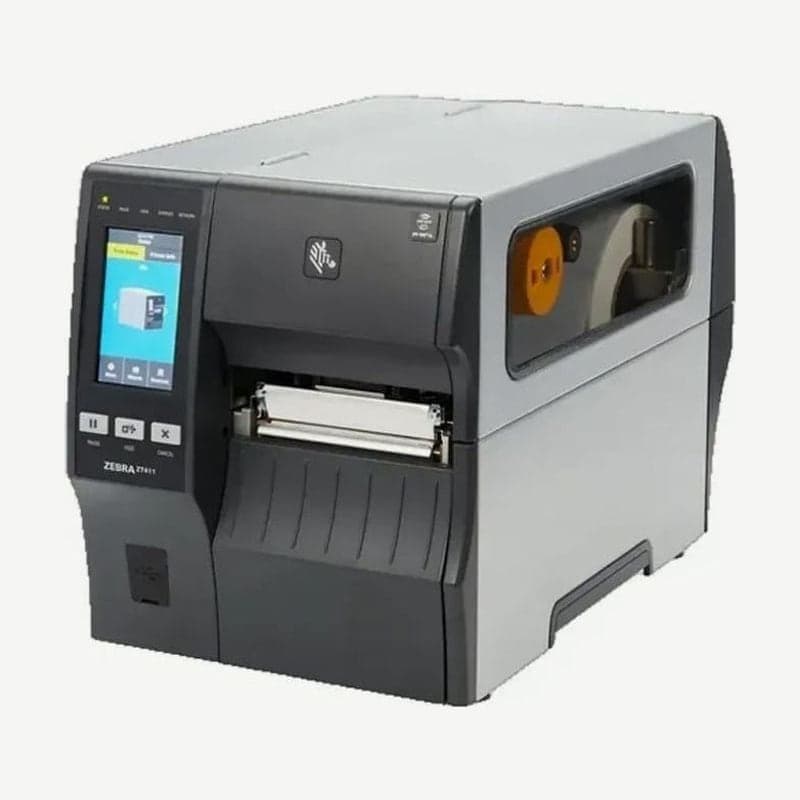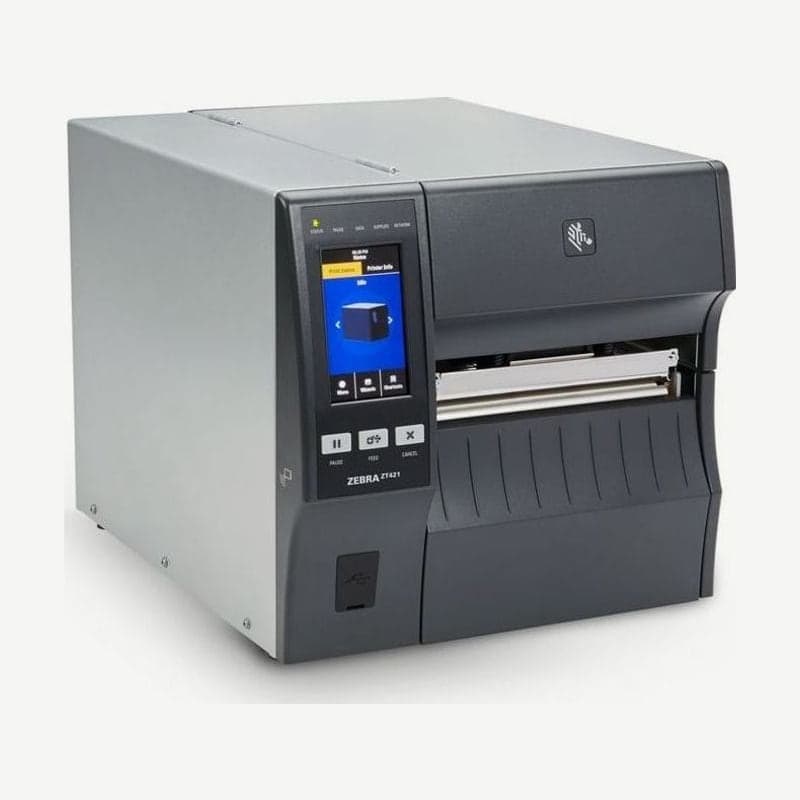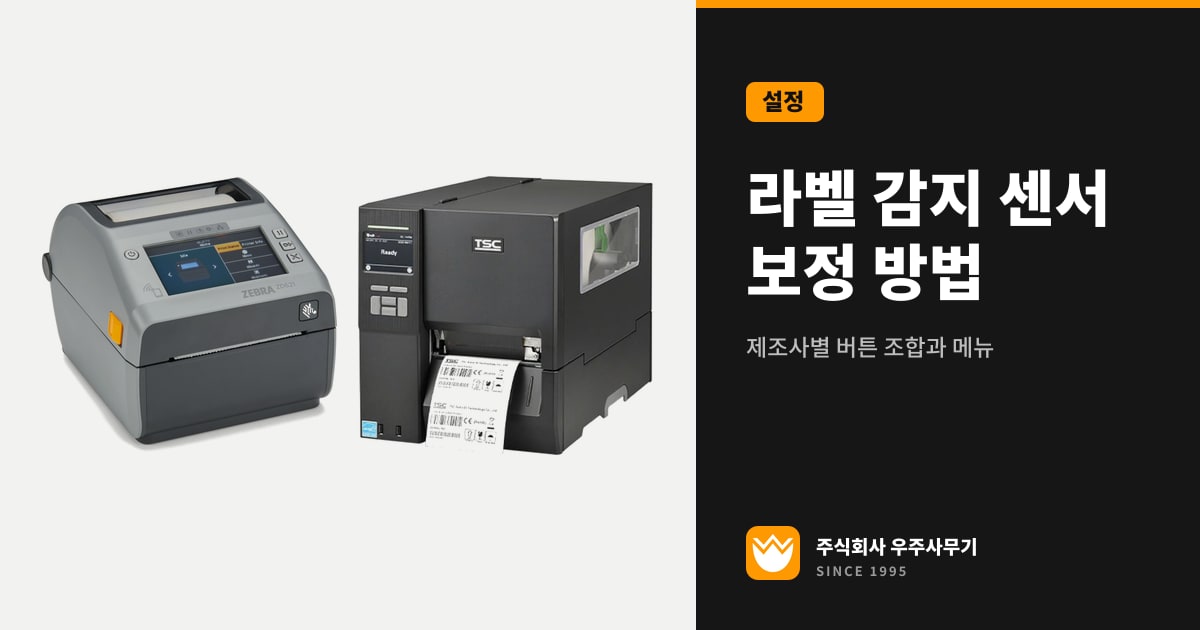
Calibrate the media sensor when the printer skips every other label, when the print position moves up and down from label to label, or when it keeps feeding gap labels as if they were continuous media. Also calibrate right after you switch to labels or ribbon of a different size or type; if you only changed the roll to labels of the same size and production batch from the same manufacturer, pressing FEED once or twice is enough.
During calibration, the printer feeds a few labels to set the sensitivity and thresholds of the media and ribbon sensors, and measures and stores the label length. The Zebra ZD421 and ZT411 use a button combination or a display menu, the TSC TE210 and Godex G500 have you hold FEED while turning on the power, and the Bixolon XD5-40t uses stand-alone configuration mode.
Gap, black mark, and continuous media and sensor types
| Media | What the printer reads | Zebra ZT411 setting |
|---|---|---|
| Gap labels, notched or punched tags | Gaps between labels or holes that let light pass through | Label Type: Gap/Notch, TRANSMISSIVE sensor |
| Black mark media | Black marks printed on the back | Label Type: Mark, REFLECTIVE sensor |
| Continuous media | No marks to read | Label Type: Continuous, label length specified in the label format (ZPL ^LL) |
When set to Gap/Notch or Mark, the ZT411 feeds media to measure the label length on its own. Continuous media has no marks to measure, so you must include a length command such as ZPL ^LL in the label format.
For tags with notches or holes, the sensor reads them only when it sits directly below the hole. On the Godex G500, the tag hole must be at least 3 mm in diameter, and on the Zebra ZD421, you move the movable sensor from its default center position to where the black mark or notch is. When you load media with printing on the front of the label or on the back of the liner in a ZD421, position the sensor where it avoids that printing as much as possible.
How to measure label width, height, and gap in mm and how to enter the media type in Goodlabel Designer (free label design software) are covered in how to measure label size on glabel.kr.
3 steps to prepare for calibration
- Load the labels straight against the guides, load the ribbon too if you print by thermal transfer, and close the cover. A Zebra ZT411 calibrated without ribbon won't detect when the ribbon runs out.
- Remove dust from the sensor window. On the TSC MH241, clear the gap and black mark sensors with a blower, and don't use canned air inside the TTP-247 or MH241.
- Check that the printer is in the ready state. On the Zebra ZD421, the button combination works only while the STATUS indicator lights solid green.
Button calibration on the Zebra ZD421 and ZD621
On the ZD421, press and hold PAUSE and CANCEL together for 2 seconds in the ready state, then release, to start a SmartCal calibration. The printer feeds a few labels to determine the media type (gap, black mark or notch, or continuous) and length, and when it finishes, the STATUS indicator lights solid green again.
For labels that SmartCal doesn't recognize, move on to manual calibration on the ZD421. Press PAUSE for 2 seconds to enter Advanced mode, press PAUSE while the STATUS indicator is yellow, then remove 80 mm of labels from the liner and place the label-free area of the liner over the platen roller.
- Close the cover and press PAUSE once, and the printer measures the liner-only area.
- When the PAUSE indicator flashes, open the cover and move the media so that a label sits directly above the sensor.
- Close the cover and press PAUSE once more, and the printer measures several labels and returns to the ready state.
If the ZD421 doesn't return to the ready state, move the sensor slightly and repeat the same procedure several times. On the ZD621, which has a display, the Print > Sensors > Manual Calibration wizard performs the same calibration.
Display menu calibration on the Zebra ZT411, ZT421, and ZT231
On the ZT411, ZT421, and ZT231, touch Print > Sensors > Manual Calibration on the display (the same menu appears in Korean when the display language is set to Korean) and select Start Calibration. Follow the on-screen prompts, touching Next to go through the steps, and when you finish, press PAUSE once to exit pause mode so the printer can print.
With the buttons, holding PAUSE, FEED, and CANCEL together for 2 seconds starts the same calibration. To stop partway, press and hold CANCEL, and on a ZT411 with the linerless cutter, remove any media sticking out of the cutter before you start, or the calibration will fail.
To have the printer calibrate automatically each time it powers up or the printhead is closed, set POWER UP ACTION or HEAD CLOSE ACTION to CALIBRATE. SHORT CAL on the ZT411 leaves the sensor gain as is and measures only the thresholds and label length again.
Power-on calibration on the TSC TE210 and TTP-247
On the TE210 and TTP-247, hold FEED with the power off, turn the power on, watch the order in which the LED color changes, and release the button at the function you want.
| LED color (5 blinks) | Function run when you release the button |
|---|---|
| Red | Sensor Calibration (gap / black mark sensor) |
| Amber | Self-Test (and enter dump mode) |
| Green | Factory Default |
| Green / amber alternating | Bline Calibration (black mark) |
| Red / amber alternating | Gap Calibration |
| Solid green | READY (skip AUTO.BAS) |
If you release the button during the 5 green blinks, the settings return to factory defaults. Green comes right before the black mark and gap calibrations, so when you run either of these on the TE210, wait for the 4th or 5th color before you release.
Sensor menu on the TSC MH241
On the MH241, go to Menu > Sensor > Auto Calibration and select the media you load, Gap, Black Mark, or Continuous, and the printer calibrates that sensor automatically. If auto calibration fails, enter the paper length and the gap or black mark size yourself in Manual Calibration on the MH241.
The maximum label length that auto calibration measures is set with Maximum Length, and the factory setting is 254 mm. Choose which of the 2 black mark sensors, upper or lower, to use in BMark Transmitter; the factory setting is Back side.
Label length calibration on the Godex G500 and G530
On the G500 and G530, hold FEED with the power off and turn the power on. When the READY LED starts to flash red and the STATUS LED lights up orange, release the button, and the printer measures and stores the label length, then prints 1 self-test label when it finishes.
Run this calibration again on the G500 when you press FEED and a label doesn't stop at the correct position. The Sensor Setting line on the self-test label shows the sensor setting values, so send this label along when you contact the service center.
Stand-alone configuration mode calibration on the Bixolon XD5-40t
The XD5-40t runs Smart Media Detection on its own, using 3 to 5 labels, when it is first installed or when it detects a change in media length or type. If Smart Media Detection fails, run gap or black mark auto calibration separately on the XD5-40t.
- Press Pause for 2 seconds in print ready mode, and release it when both LEDs turn orange.
- Press Feed/Cancel at sequence 4, where LED 1 is solid orange and LED 2 blinks green 4 times, for gap auto calibration.
- Press it at sequence 5, where LED 1 is solid orange and LED 2 blinks orange 4 times, for black mark auto calibration.
On LCD models, select Gap Cal or Black Mark Cal under Sensor in the setting menu and press Function button 1. If the printer still can't find the gap after auto calibration, adjust the sensor values yourself in the Calibration Setting Manager of Unified Label Utility-II; the calibration steps for the SLP-DX420, which uses the same stand-alone configuration mode, are on its product page.
Checks when the printer still can't find labels after calibration
If the Zebra ZT411 shows a media out error even though labels are loaded, check the sensor position first. Remove the ribbon, move the sensor so that the green light from the sensor shines through a gap, notch, or hole, and calibrate again.
If it's hard to tell whether the cause is the sensor or the media, print a sensor profile on the ZT411 from Print > Sensors > Print: Sensor Profile. Holding FEED and CANCEL together during power-up also prints it, and it compares the sensor settings with actual sensor readings in a graph that spans several labels.
If a TSC TE210 or MH241 skips labels, check the label size setting, the sensor sensitivity, and dust on the sensor, in that order. If the same symptom remains after repeated calibration, check the configuration label and indicators following the steps in self-checks before sending a label printer for service, then send it to the service center. Checks by symptom are in fixing label print quality problems, and how to choose a media type is in label paper types.