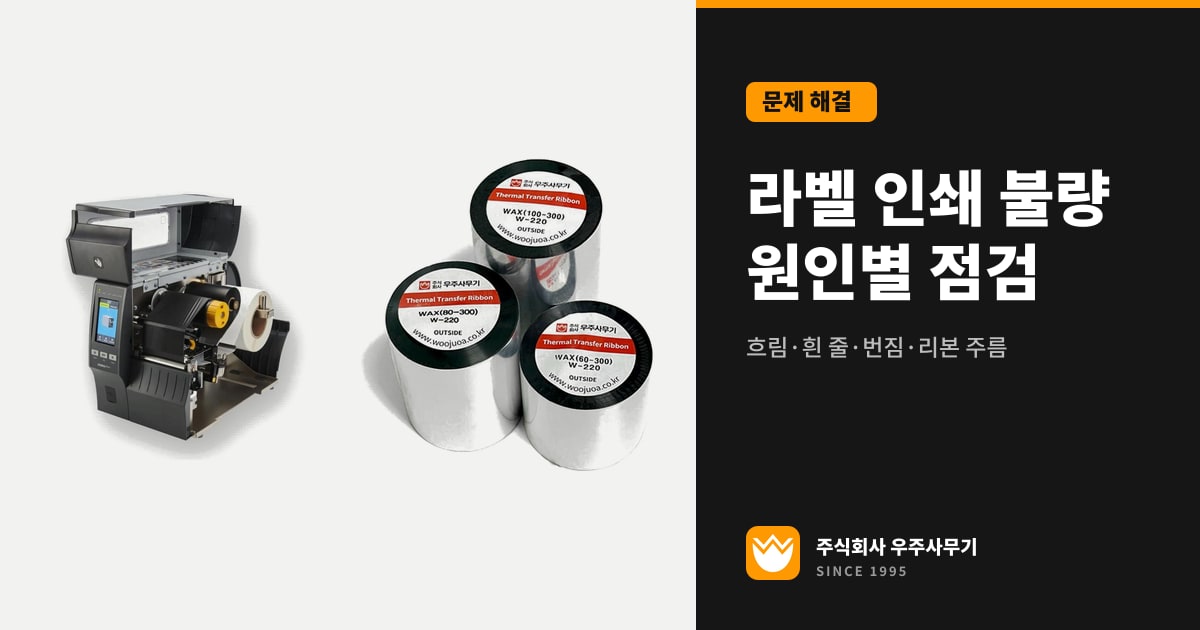
When labels print faint, streaked, or smudged, the main causes are printhead dirt, darkness and speed settings, the match between ribbon and label, and printhead pressure and latching. Following the TSC TE210 check order, start by reloading the ribbon and labels, and decide on printhead replacement only after confirming missing dots in a self-test.
Causes and actions for 8 symptoms
| Symptom | Cause to check first | Action |
|---|---|---|
| Nothing prints in direct thermal mode | Thermal transfer labels are loaded | Replace with direct thermal labels |
| Nothing prints in thermal transfer mode | Ribbon ink side reversed, labels or ribbon loaded incorrectly | Check the ink side and reload |
| Whole label too light or too dark | Darkness and speed settings, consumables not rated for high-speed printing | Reset darkness and speed |
| Only one side of the label light or dark | Uneven printhead pressure | Adjust the pressure dial on the faint side |
| Vertical white lines | Dust or adhesive built up on the printhead, damaged heating elements | Clean the printhead, then run a self-test |
| Hazy smudging or patchy gaps (thermal transfer) | Ribbon grade does not match the label material | Replace with a ribbon suited to the material |
| Skips labels while printing | Sensor sensitivity, dust on the sensor, label size setting | Clean the sensor, then calibrate |
| Prints but does not scan | Darkness too high or too low, insufficient quiet zone around the barcode | Adjust darkness, quiet zone 3.2 mm or more |
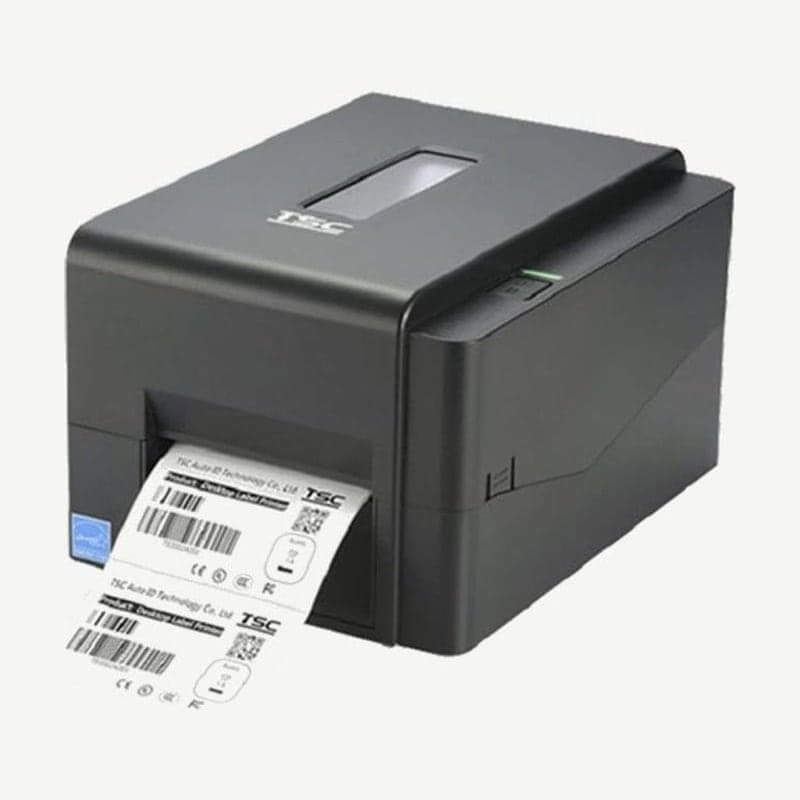
Print quality check order for the TSC TE210 and TE310
Check TSC desktop printers operated with a single button in the 5 steps below; if a step solves the problem, skip the rest.
- Reload the ribbon and labels, and check that the TE210 printhead lever is fully latched.
- Clean the printhead and then the platen roller.
- Reset darkness and speed.
- Turn off the power, hold FEED while turning the power on, and release when the LED passes 5 red blinks and blinks amber 5 times; a self-test label prints.
- If the printhead test pattern on the self-test label has even 1 blank dot, the printhead is damaged; if not, change to a matching ribbon or label.
When it skips labels while printing, enter the same FEED procedure and release when the LED blinks red 5 times to calibrate the gap and black mark sensor. Before calibrating, blow dust off the sensor with a blower; printhead cleaning tools and steps are covered separately in printhead cleaning.
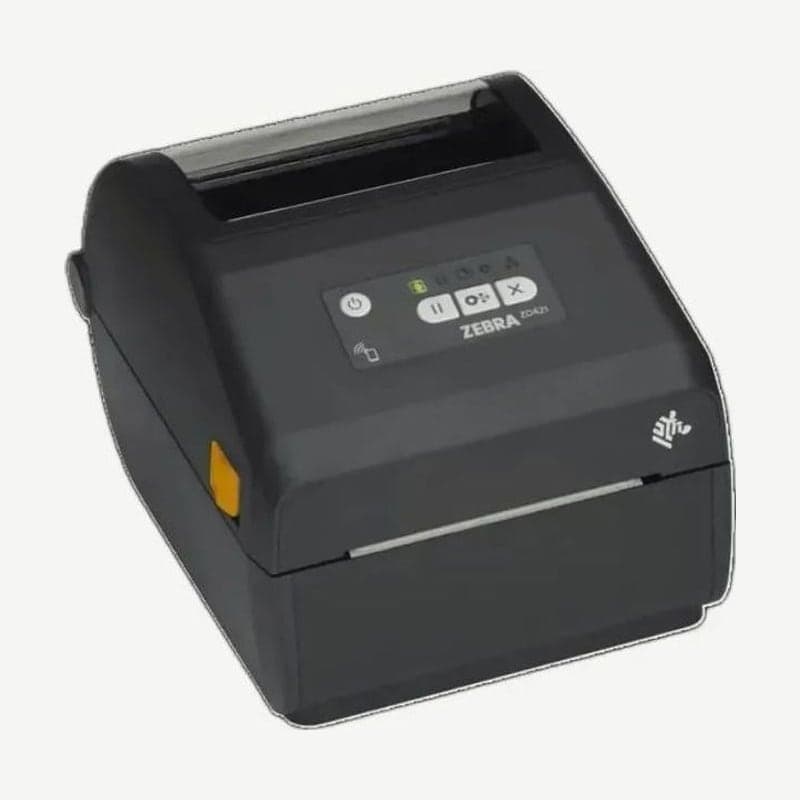
Zebra ZD421 self-test for finding darkness
The ZD421 and ZD621 find the right darkness with comparison labels printed while changing the darkness one step at a time.
- Press FEED and CANCEL together for 2 seconds to print a configuration label, and note the current darkness shown on it.
- Turn off the ZD421, hold FEED while turning the power on, and release when only the status indicator lights.
- Labels print from 3 steps below the current darkness (-3) to 3 steps above (+3). At 203 dpi, 7 labels each print at 51 mm/s and 152 mm/s; at 300 dpi, 7 each at 51 mm/s and 102 mm/s.
- Pick the label with even, unbroken bars and clear spaces, and add or subtract the relative darkness printed on it to the current darkness.
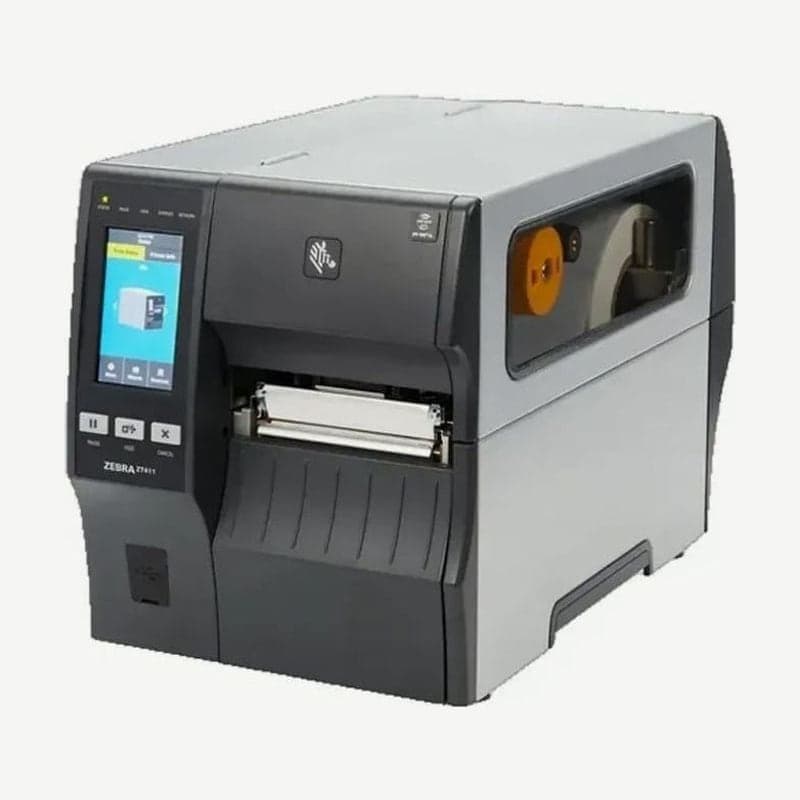
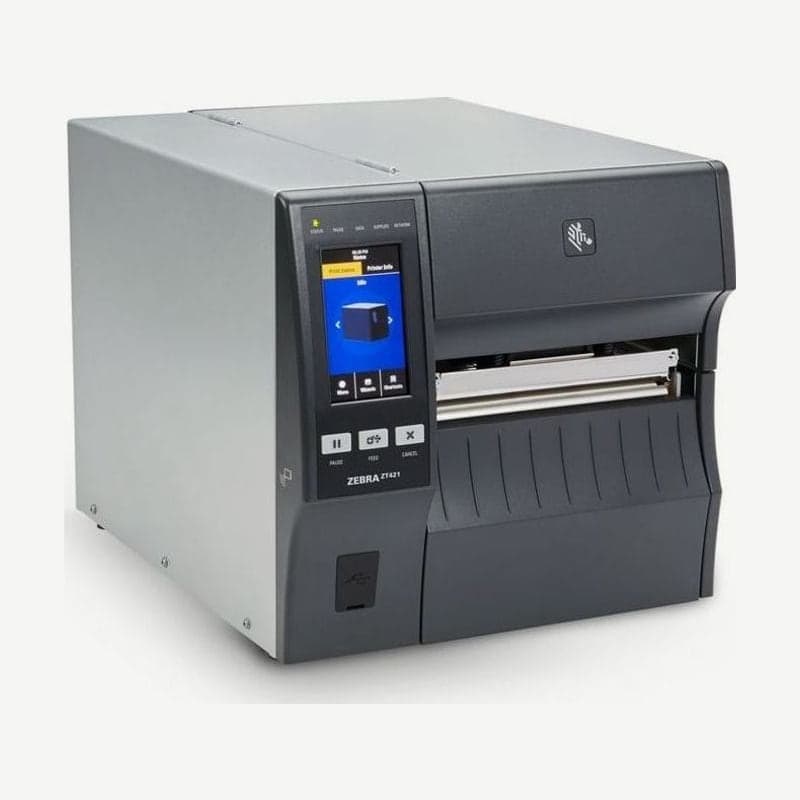
The industrial ZT411 and ZT421 use the on-screen print wizard instead of button combinations. At the last step of the wizard, press the print quality assistant, choose the number of labels to print, then choose the number of the best label, and the settings change to that darkness and speed.
Label appearance and readability by darkness
On the ZT411 and ZD421, darkness set too high makes bars thicker and fills in the open parts of small characters, and barcodes rotated vertically have bars and spaces running together. On a slightly dark label, horizontal barcodes may meet specification while barcodes rotated 90 degrees have narrowed spaces.
Too light, and bars break in both horizontal and vertical barcodes and small text cannot be read. If the goal is to get both horizontal and rotated barcodes within specification, in some cases a slightly light label is better than a slightly dark one, though small text strokes are less filled.
Set darkness at the lowest step that gives good quality. Setting it too high burns the ribbon or wears out the printhead early. On the ZT411 and ZD421, quality improves as speed is lowered, and speed is not set above the maximum rated speed of the labels and ribbon.
Printing where darkness settings have no effect
On the ZT411, darkness settings in the driver or label program can override the printer setting, so if changing darkness on the printer gives the same result, also check the darkness settings in the Windows driver and Goodlabel Designer (free label design software).
On the ZT411, print quality also drops when a label format forcibly enlarges a non-scalable font, so instead of changing darkness, switch the format's font to ZPL font 0, whose edges stay smooth when enlarged.
Barcode scan failures and quiet zones
If printing looks fine but barcodes do not scan, check the empty space around the barcode first; on the ZT411, leave at least 3.2 mm between the barcode and other printed areas and between the barcode and the label edge. EAN-13 needs 11 times the bar width (X) clear on the left and 7 times on the right.
Barcode color and placement rules are in GS1 barcode basics, and resolution and bar width criteria in 203 dpi vs 300 dpi.