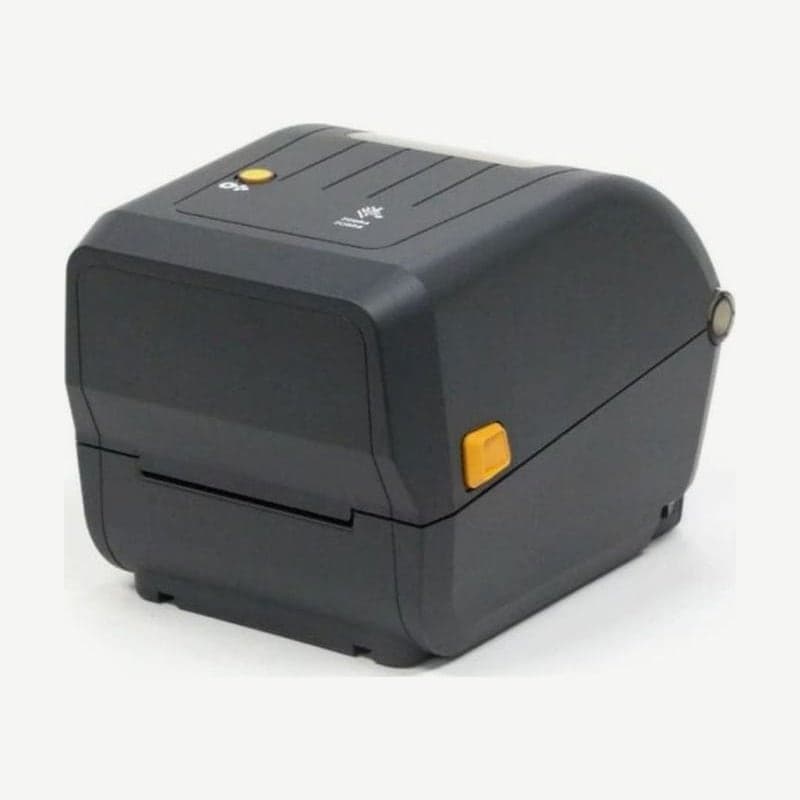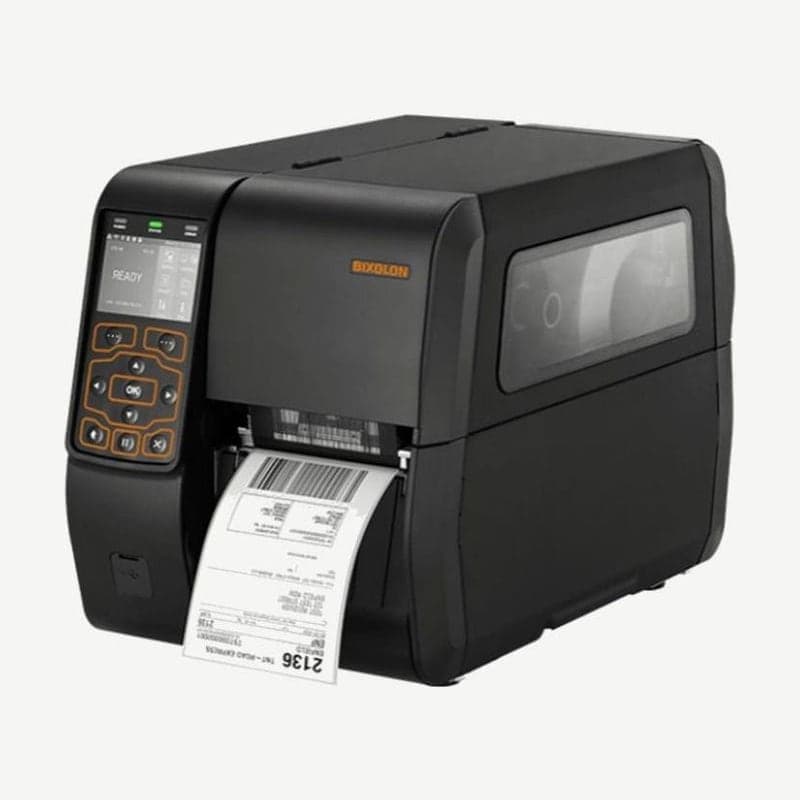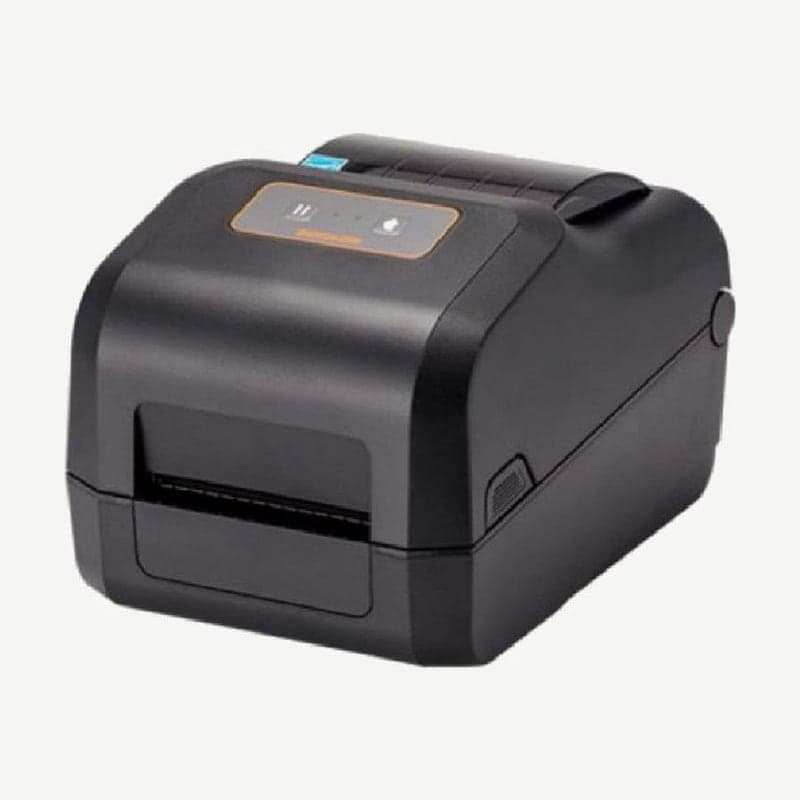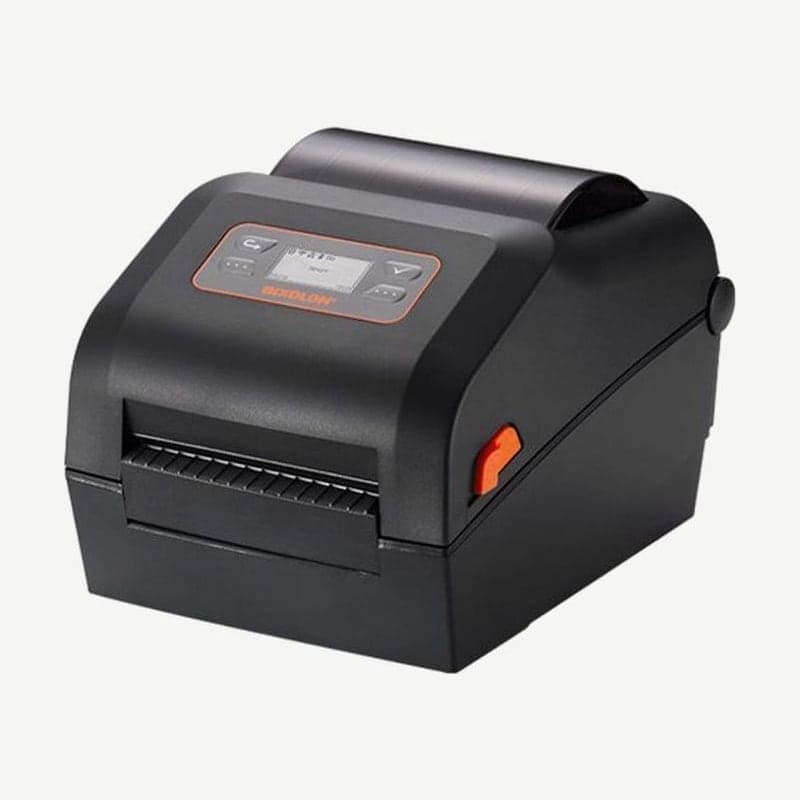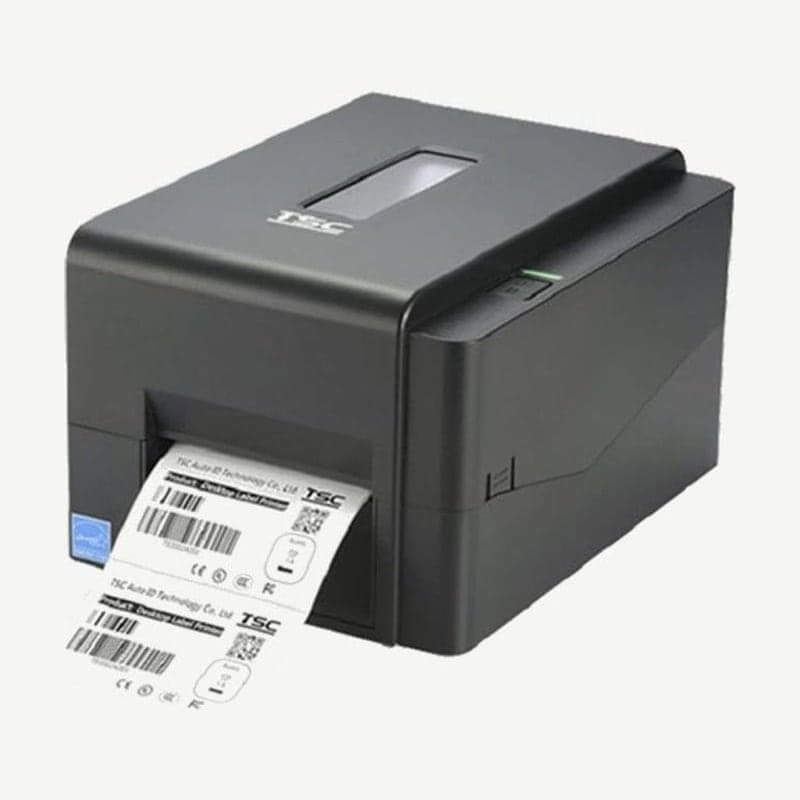
The TE210 is a TSC 203 dpi 4-inch desktop printer that does both direct thermal and thermal transfer. The base model in the same TE200 series, the TE200, has only USB, but the TE210 comes with 10/100 Mbps Ethernet, RS-232, and USB host as standard, so it connects directly to an office network.
The uses TSC lists for the TE200 series are shipping and receiving labels, file folder labels, price tags and shelf labels, and patient identification and pharmacy labels. The TE210 prints at up to 152.4 mm per second and up to 108 mm wide.
TE200 and TE210 compared
| Item | TE210 | TE200 |
|---|---|---|
| Interfaces | USB 2.0, Ethernet, RS-232, USB host | USB 2.0 |
| Memory | 128 MB flash, 64 MB SDRAM | 8 MB flash, 16 MB SDRAM |
| Max print length | 25,400 mm | 2,794 mm |
| Real-time clock and buzzer | Standard | None |
| Peel-off mode | Up to 3 ips | Not applicable |
| Weight | 2.5 kg | 2.4 kg |
Resolution, speed, and size (204 x 164 x 280 mm) are the same on both models. If you need finer dots, look at the 300 dpi TE310, which prints 12 dots per mm.
Ethernet connection steps
- Connect the TE210 to a PC with the included USB cable and launch TSC Console.
- Double-click the TE210 in the TSC Console list to open the settings screen (Printer Configuration), and check the IP address on the Ethernet tab.
- Under Add Printer at the top left of the main screen, choose Network, enter the IP address from step 2, and click Discover.
- Click OK in the notification window, and one more line for the TE210's Ethernet connection appears in the TSC Console list.
Ribbon specs and loading direction
It uses wax, wax/resin, and resin ribbons with the ink coated on the outside, 40-110 mm wide. It takes both 300 m on a 1 in core (67 mm OD) and 110 m on a 0.5 in core (40 mm OD), and two 1 in ribbon spindles for 300 m ribbons are included.
Load the TE210 ribbon so it passes under the head with the black part covering the head. If nothing prints after loading the ribbon, first check that the ink side is on the outside (outside wound). Criteria for choosing a ribbon are covered in Thermal transfer ribbon types.
Sensor calibration with the button
After changing media, turn off the TE210, hold down the single FEED button, and turn the power on. Release the button while the LED changes from orange to red and blinks 5 times to calibrate the gap and black mark sensor. Releasing at 5 orange blinks runs a self-test print, and releasing at 5 green blinks resets to factory defaults.
The unit holds 127 mm OD rolls, and with the external roll holder, a user option, it takes rolls up to 214 mm on a 3 in core. The driver and manual are on the TE210 driver download page, and layouts are created in Goodlabel Designer (free label design software).