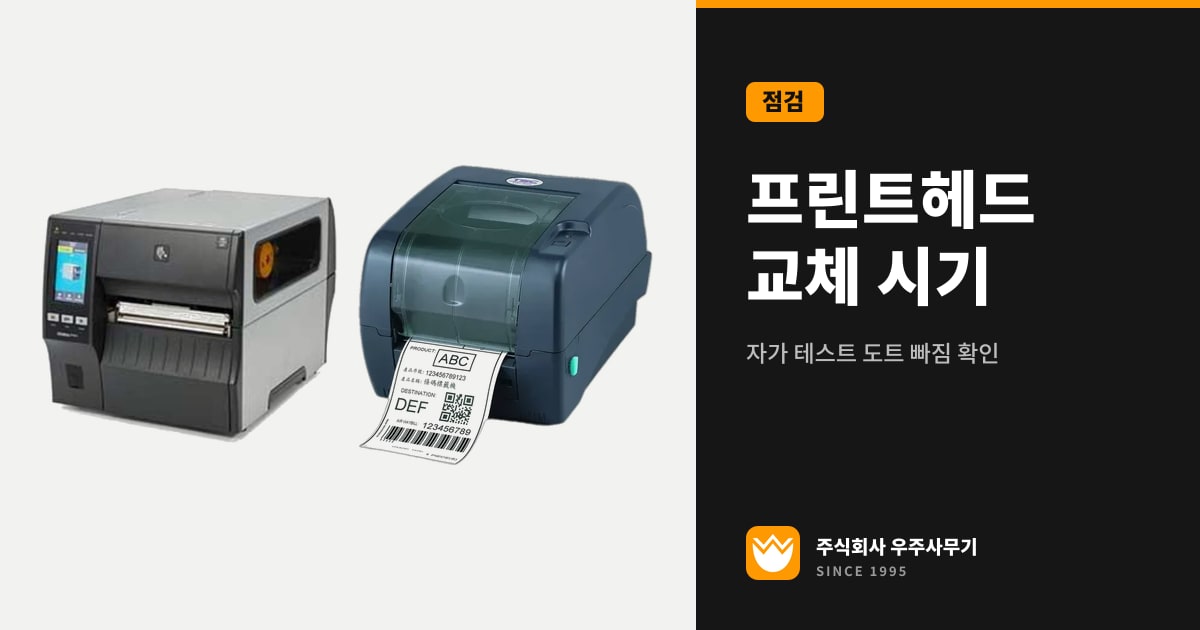
Replace a printhead when, even after cleaning, one or more blank dots remain in the self-test pattern and that dot falls within the label width you actually print. Don't replace it based only on how long it has been in use or how far it has printed; if the blank dot is at an edge outside the label, you can keep using the printhead and it won't show up in your prints.
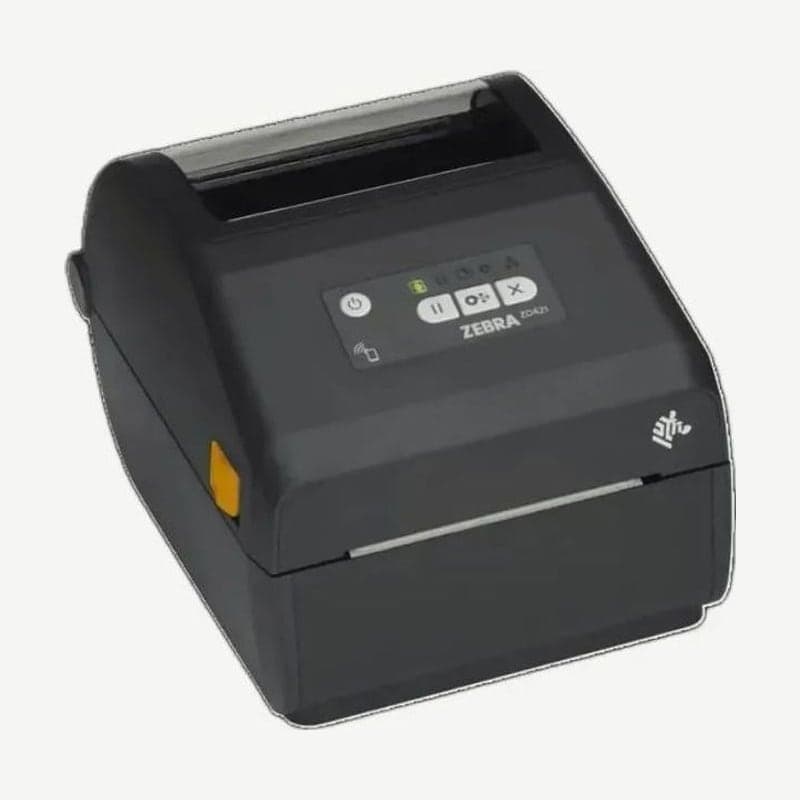
The decision takes 3 steps: clean the printhead, run a self-test, and check where the blank dot is. The Zebra ZD421 lists a dirty or damaged platen roller alongside a worn printhead as causes of poor print quality, so check the roller as well before you decide to replace the printhead.
How 203 and 300 dpi printheads wear
Every time a label roll and ribbon pass under the printhead, the protective ceramic coating over the heating elements (dots) wears away a little. Dots exposed by the worn coating are eventually damaged, and on a 203 dpi printhead one damaged dot leaves an unprinted line about 0.125 mm wide.
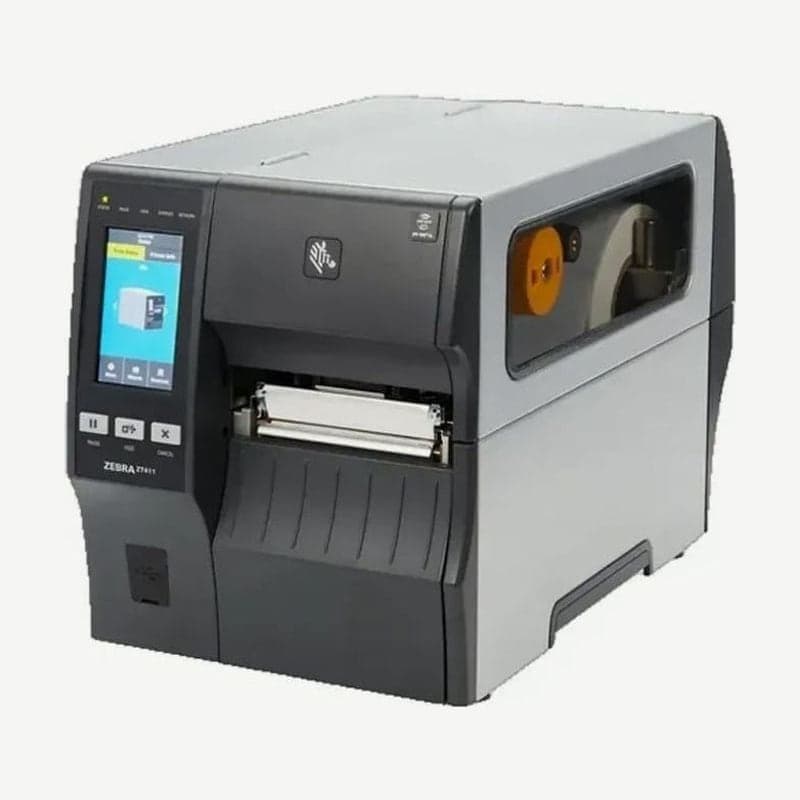
On the Zebra ZT411, 3 conditions speed up wear: a printhead with buildup from cleaning being put off, pressure and darkness higher than print quality requires, and a ribbon narrower than the label.
When the ribbon is narrower than the label, the rough label surface touches the dots directly, with no ribbon, along the edges the ribbon doesn't cover. Cleaning intervals and settings that avoid these 3 conditions are covered separately in printhead cleaning.
How to check for missing dots on models from 4 manufacturers
| Model | How to run it | What to look at |
|---|---|---|
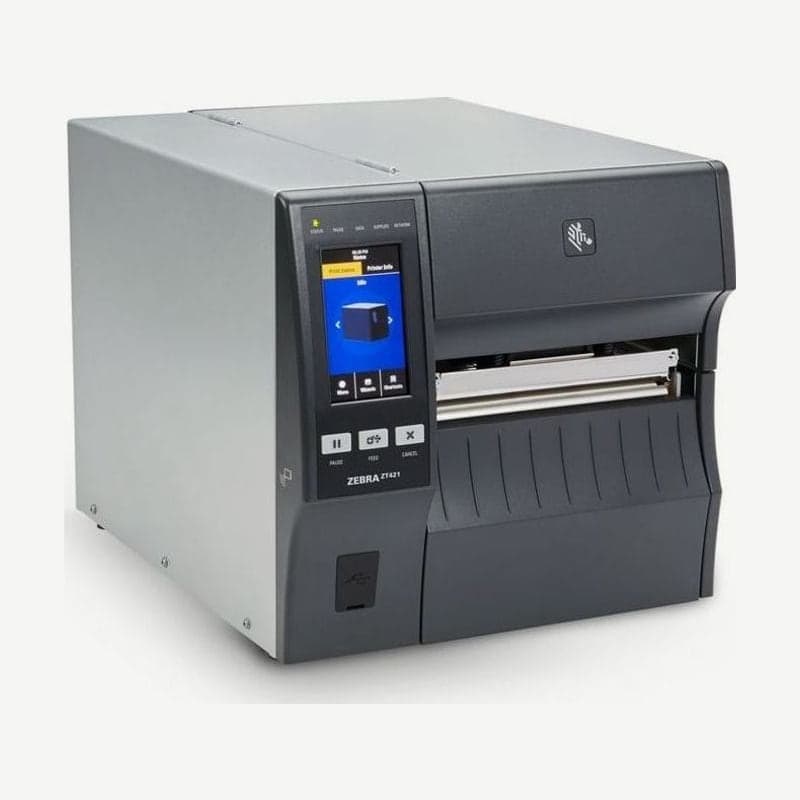
| Zebra ZT411 and ZT421 | With the power off, hold PAUSE while turning the printer on, and release when the first light turns off | Blank lines on the 15 test labels |
| TSC TE210 and TTP-247 | With the power off, hold FEED while turning the printer on, and release when the LED blinks amber 5 times | Print head test pattern on the self-test label |
| TSC MH241 | Menu > Diagnostic > Print Config. | Print head test pattern on the configuration label |
| Godex G500 and G530 | With the power off, hold FEED while turning the printer on, and release when the READY LED flashes red and the STATUS LED lights up orange | Whether the test pattern prints across the full width of the media |
| Bixolon XD5-40t LCD model | Settings menu Tools > Head Chk | Dot-out check printout |
The ZT411 PAUSE self-test prints 15 labels at the slowest speed and then pauses. Each time you press PAUSE again, 15 more labels print, and pressing and holding CANCEL ends the test.
On the TE210 and TTP-247, the FEED self-test runs only if you release the button during the 5 amber blinks, after the 5 red blinks. If you release it during the 5 red blinks, gap/black mark sensor calibration runs instead of the self-test.
The Godex G500 uses the same FEED operation to measure the label length first and then print a self-test label; any spot where the pattern breaks off instead of running to the edge of the media width is a missing dot on the G500 printhead.
What to do when you find one blank dot
If you see a blank line, clean the printhead and platen roller with 99% or higher isopropyl alcohol and run the same test once more. If the same spot is blank in the second pattern, the cause is not contamination but a damaged dot.
Once a damaged dot is confirmed, compare the position of the blank line with your actual label. The Zebra ZT411 calls for replacing the printhead only when the failed dot is in a position that affects printing, and not when it is outside the label width.
On the Zebra ZD421, if print quality is poor even with a clean printhead, check the platen roller too. The roller is also a consumable part that wears out or gets damaged, so if cleaning doesn't help and you see surface damage, the roller needs replacing. How to check the roller is covered in platen roller inspection and replacement.
Printhead usage records (inches and m)
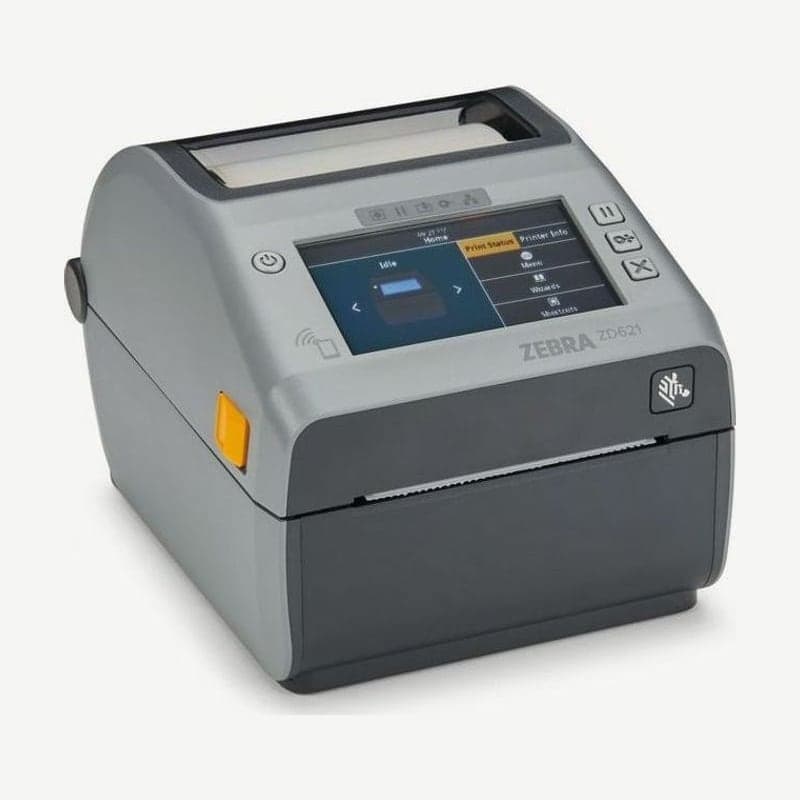
On the Zebra ZD421 and ZD621, the configuration report you print by holding FEED and CANCEL together for 2 seconds shows printhead usage (HEAD USAGE), total usage (TOTAL USAGE), and the last cleaning record (LAST CLEANED) in inches (IN).
The TSC MH241 shows printed mileage (m), printed labels, and the cutting counter under Menu > Advanced > Printer Information. In Printer Head Care in the same Advanced menu, you set the mileage for the printhead cleaning warning; the default is 1 km, and the warning is disabled.
HEAD USAGE and print distance (m) are figures that show how much work the printhead has done, and whether to replace it is decided by the dot condition in the self-test rather than the distance. Ribbon width and darkness and pressure settings change how fast it wears, so 2 printheads with the same km on them are not in the same condition.
Checking for bad dots with TPH Care on the TSC TE210 and MH241
The TSC TE210 and MH241 check the printhead with TPH Care in the TSC Console program. TPH Care is disabled (OFF) by default, so turn it on first, then click the Get TPH care profile button to show a graph of the condition of each dot on the TE210 or MH241 printhead.
- If the graph is flat and the Unhealthy TPH dot number is 0, the printhead is good.
- If the graph has even one spike, there is a potentially damaged dot at that position.
- If you set a threshold for the number of bad dots, the printer reports an error when that number is exceeded.
As with the self-test, compare the position of the spike with your actual label width (mm) to decide whether to replace the printhead.
ZT411 and ZT421 printhead replacement error messages
Besides damaged dots, the ZT411 and ZT421 also signal when to replace the printhead through error messages on the display. These include a warning that the printhead is nearing the end of its life, a warning that the printhead was replaced with one that is not a genuine Zebra printhead, and a faulty printhead temperature sensor (thermistor).
ZT411 errors related to printhead temperature can also appear when the printhead data cable or power cable is loosely connected, so check the cable connections first. An error reporting a problem with the printhead itself means the printhead needs replacing if it appears again after you turn the power off and back on.
Right after these errors appear, the printhead may be hot enough to cause severe burns, so let it cool before you touch it.
How printheads are replaced on the desktop ZD421 and industrial ZT411
The ZD421 and ZD621 are models whose user guide includes printhead replacement procedures for the direct thermal, ribbon roll, and ribbon cartridge models. On the ZD421, unplug the power cord, let the printhead cool, and work on a grounded anti-static mat while wearing a wrist strap. On the direct thermal model, move the 2 cable connectors and the ground wire at the back of the printhead over to the new printhead.
On the industrial ZT411 and ZT421, long tracks of missing print across several labels are referred to a service technician when the cause is damaged dots. Ribbon wrinkles also leave missing print that looks the same, so first reload the ribbon roll to remove any wrinkles and see whether the gaps remain. Wrinkle adjustment is covered in thermal transfer ribbon wrinkles: causes and fixes.
Products come with a 1-year warranty from the date of purchase from Wooju OA. When you send a printer to the service center for a printhead check, please include one self-test label or the TPH Care graph. What to have ready before you send it in and how to pack it are covered in label printer self-check before service.