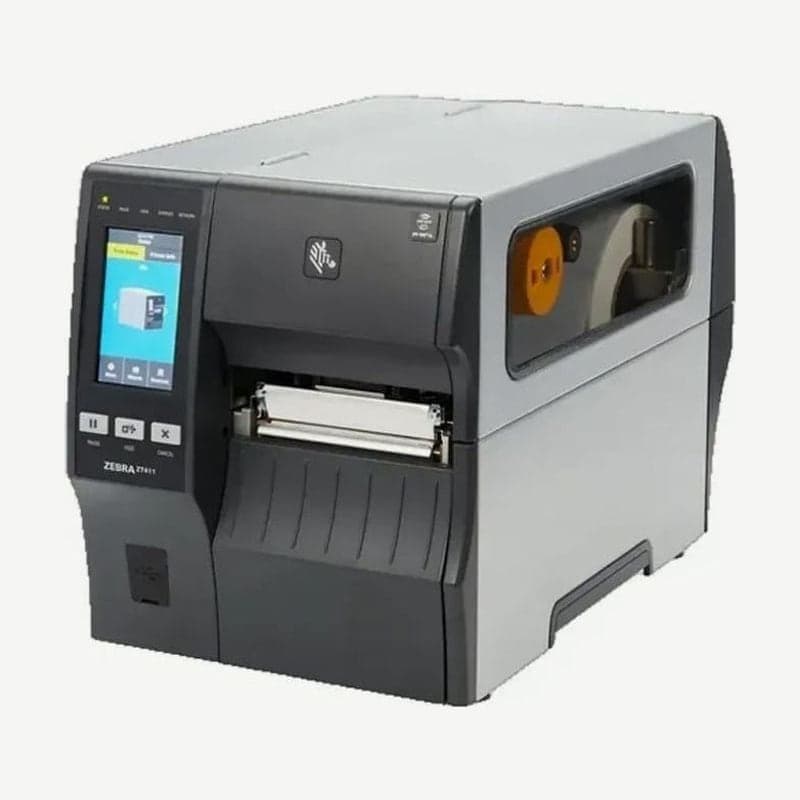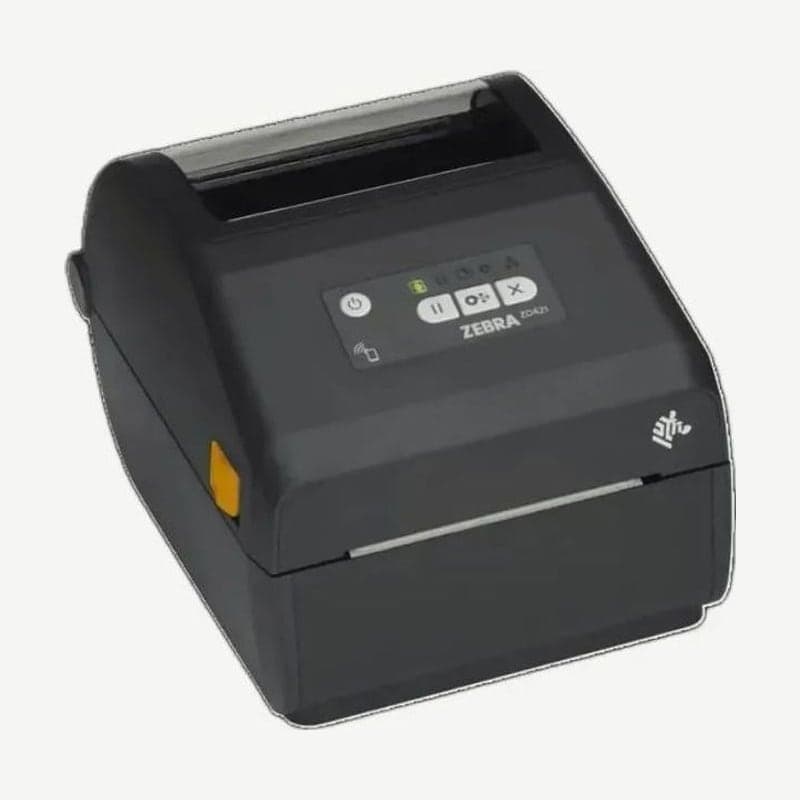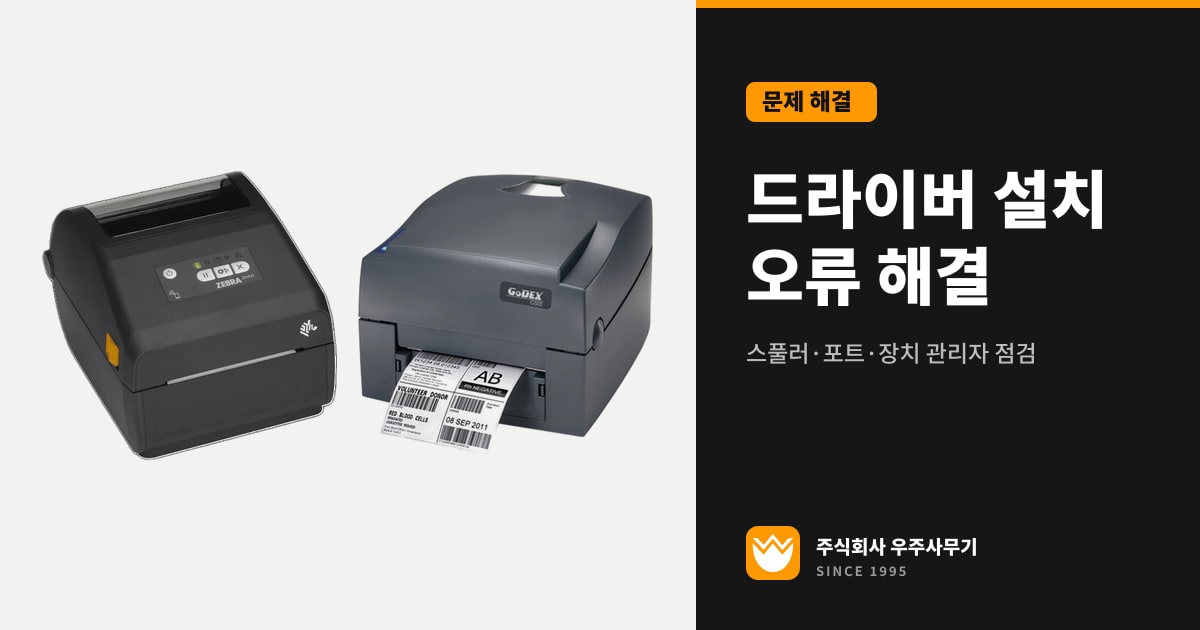
When a label printer driver fails to install, check 4 causes first: plugging in USB before installing the driver, a stopped print spooler, a driver that doesn't match the Windows version or bitness, and the wrong port. On the Zebra ZT411 and ZD421, the standard order is to install the driver first and plug in the USB cable when the installer tells you to.
If Device Manager shows an error code, write down the code number first. Code 28 and Code 52 have different fixes.
Causes and fixes for 6 symptoms
| Symptom | Cause | Fix |
|---|---|---|
| Printer shows as an "Unspecified device" | USB connected before the driver was installed | Install the driver, then update the driver from the device's properties |
| Print jobs stuck in the queue | Print spooler stopped | Clear the queue and restart the spooler |
| Device Manager Code 28 | Driver not installed | Uninstall the device, then scan for hardware changes |
| Device Manager Code 52 | Windows can't verify the driver's digital signature | Replace it with the latest driver from the manufacturer's website |
| "A driver can't load on this device" | Conflict with the Memory Integrity setting | Look for a compatible newer driver first |
| Installed, but nothing prints | The driver's port doesn't match the actual connection | Reassign the USB or TCP port |
Zebra ZT411 and ZD421 driver installation steps
- Go to zebra.com/drivers, click Printers, select your model (for example, ZT411), and download the Windows driver executable from Drivers.
- Run the executable and follow the prompts. On the last screen, select Configure System, and then click Finish.
- In the Printer Installation Wizard that opens next, click Install Printer Driver, and choose one of 4 connection options: Network Port, USB Port, Bluetooth Port, or Other.
- If you chose USB Port, plug in the USB cable and turn on the printer now, in step 4. If the ZD421 or ZT411 was already plugged in and on, unplug the USB cable and plug it back in. The PC finishes installing the driver while the printer boots.
- When asked for the model and resolution, on the ZT411, check the Part Number sticker below the media hanger. The digit after the model name, as in ZT411x3, means 203 dpi if it's 2, 300 dpi if it's 3, and 600 dpi if it's 6.
Double-check that the digit on the sticker matches the dpi you selected in the driver. The difference in resolution is covered separately in 203 dpi vs 300 dpi.
A ZT411 that became an "Unspecified device" because USB was plugged in first
A Zebra printer connected over USB without a driver shows up in Windows as an "Unspecified device." In that case, download and install the driver with steps 1 to 3 above, then switch it over with the 4 steps below.
- Open Devices and Printers in Control Panel, right-click the printer that shows as an unspecified device, and open Properties.
- On the Hardware tab, select the Zebra printer in the Device Functions list and click Properties.
- Click Change settings, and on the Driver tab, select Update Driver.
- Click Browse my computer for driver software, click Browse... and navigate to the Downloads folder that has the Zebra driver you downloaded earlier, click OK to select the folder, and then click Next.
Checking the driver installation on the GoDEX G500 and TSC TTP-247
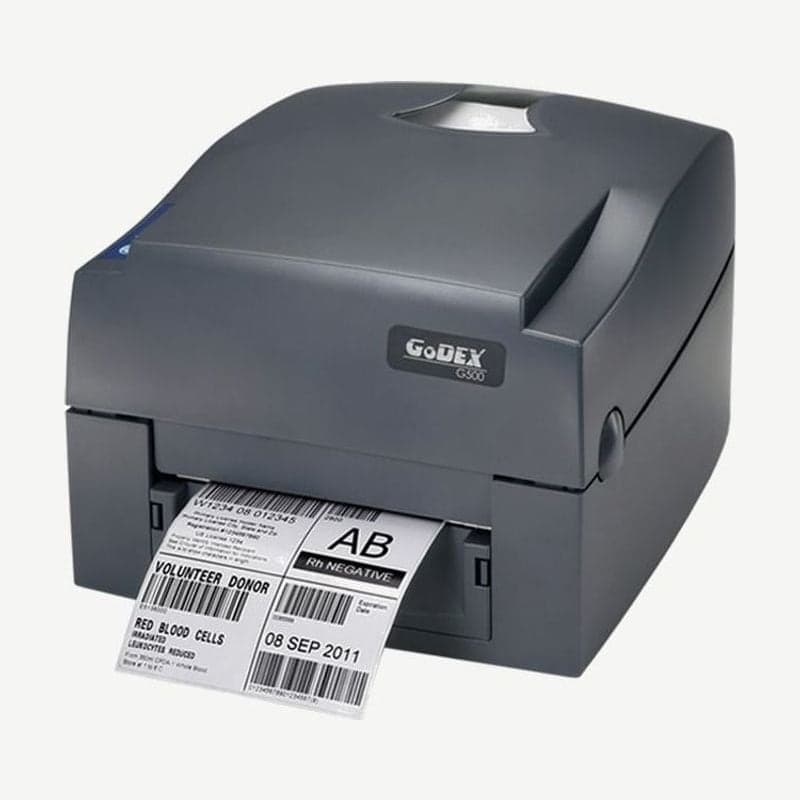
On the GoDEX G500 and G530, select "Install printer drivers" in the Driver Wizard, then specify the model, the connection port, and the printer name and rights, in that order. On the final summary screen of the G500 wizard, check the settings and click "Finish" to start copying the driver files; the installation finishes only after copying is complete.
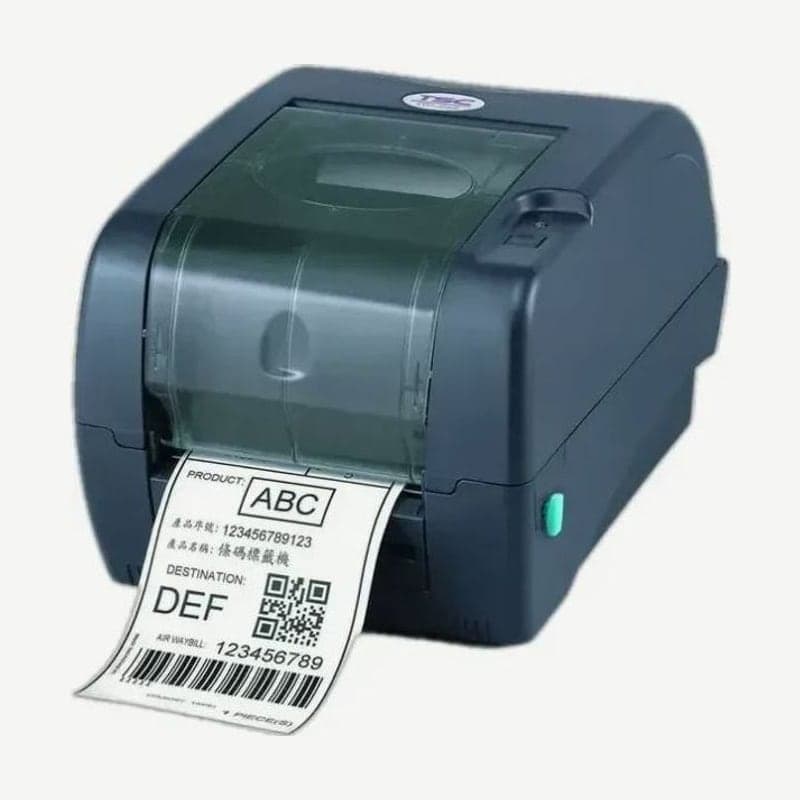
If nothing prints on the TSC TTP-247 after installation, check the port specified in the Windows driver first. If the TTP-247 driver port doesn't match the actual connection (USB, Ethernet, or RS-232), select the correct port, and for a network connection, also check the printer's IP, subnet mask, and gateway settings.
Restarting the print spooler in Windows 10 and 11
The print spooler is the service that manages all print jobs in Windows 10 and 11, so when it stops, documents pile up in the queue and the printer stops responding. Restart it with the 3 steps below.
- Go to Start > Settings > Bluetooth & devices > Printers & scanners, select the printer, and cancel all remaining jobs in Open print queue.
- Press Windows key + R, type services.msc, and find Print Spooler in the list.
- Right-click Print Spooler and select Restart.
If the queue still doesn't clear, stop the spooler, delete all files in the %WINDIR%\system32\spool\PRINTERS folder, start the spooler, and set Startup Type to Automatic.
If the spooler keeps stopping, go to Print queues or Printers in Device Manager and uninstall printer drivers that aren't in use or that are duplicated 2 or more times under the same name. Duplicate or conflicting drivers like these are a common cause of spooler crashes.
Checking the Windows version, 64-bit, and ARM PCs
Before downloading a driver, check Start > Settings > System > About to see whether you have Windows 10 or 11, and 32-bit or 64-bit. Use drivers marked for older Windows versions only when no newer driver is available.
If System type on the same screen shows "ARM based processor," the PC is an ARM PC such as a Copilot+ PC. ARM PCs have a known problem adding printers with the manufacturer's installer, so add the printer with Add device under Settings > Bluetooth & devices > Printers & scanners.
If printing goes wrong after a driver update, open the printer's Properties in Device Manager and use Roll Back Driver on the Driver tab to return to the previous driver. The Roll Back Driver button is available only when the previous driver is still on the PC.
Device Manager Codes 28 and 52 and driver signatures
Code 28 means the driver isn't installed at all. In Device Manager, right-click the device and select Uninstall, then reinstall the driver with Action > Scan for hardware changes on the menu bar. If asked for a location, point to the driver folder you downloaded from that printer's manufacturer, for example Zebra for a ZT411 or TSC for a TE210.
Code 52 means Windows can't verify the driver's digital signature, and the cause is an unsigned or corrupted driver. Delete driver files of unclear origin and reinstall the latest driver from the official Zebra, TSC, or GoDEX website.
The "A driver can't load on this device" notification appears when the Memory Integrity setting in Windows Security blocks a driver. First look for a compatible newer driver through Windows Update or from the manufacturer; consider turning off Memory Integrity only as a last resort, since it takes the PC out of a Secured-core state.
2 tasks that need administrator rights
If only print jobs sent from the PC fail even after reinstalling the driver, check the printer itself too. Checking first whether a single configuration label prints and what color the indicator lights show is covered in label printer self-check before requesting service.
Some printers require permission for the installation itself, so where account permissions are separated, such as on company PCs, install drivers and change ports with an administrator account.
When you change ports in PowerShell, Add-PrinterPort runs without administrator credentials, but Set-Printer, which attaches the printer to the new port, needs administrator credentials. The steps for setting a network port to a static IP are in Zebra printer network (IP) setup.
Before reinstalling the driver, turn off the printer, wait about 30 seconds, turn it back on, and restart the PC too. Goodlabel Designer (free label design software) prints using the printer name and port listed in Windows' printer list, so for how the designer prints through the driver and port, see direct printing to ZPL, TSPL, and EZPL printers on glabel.kr.