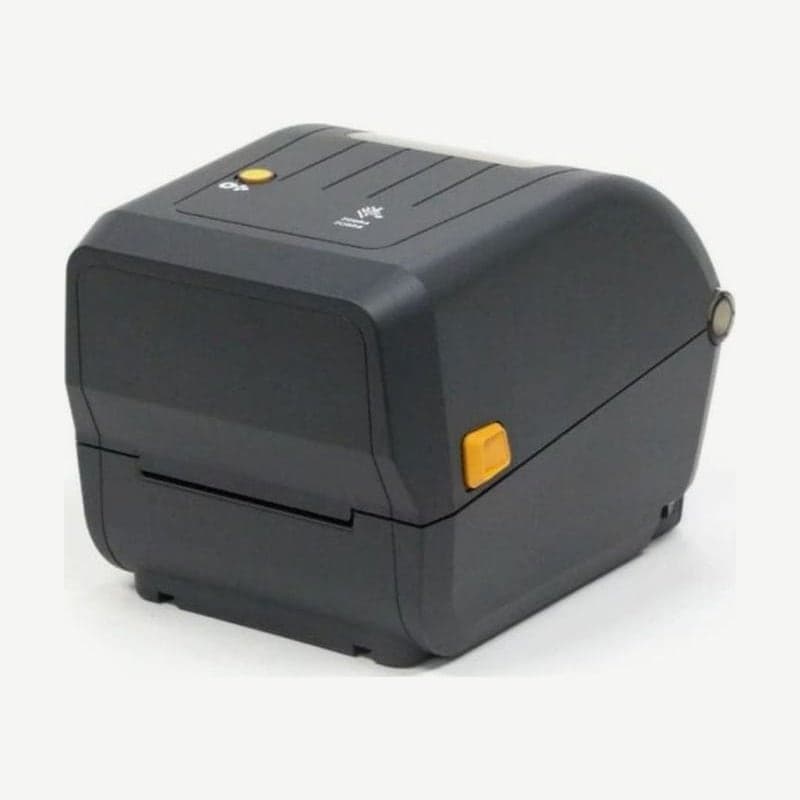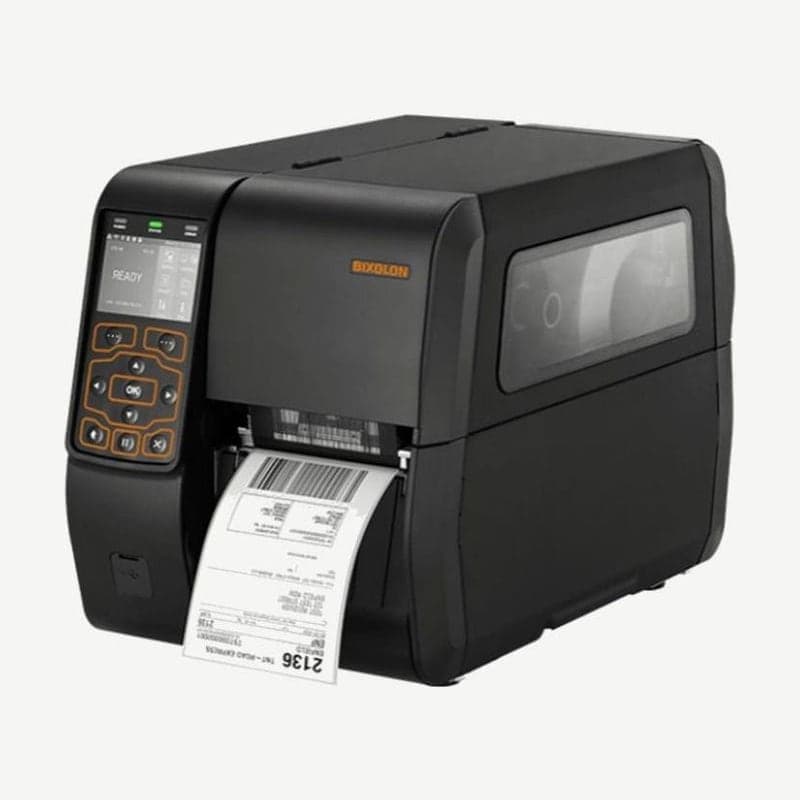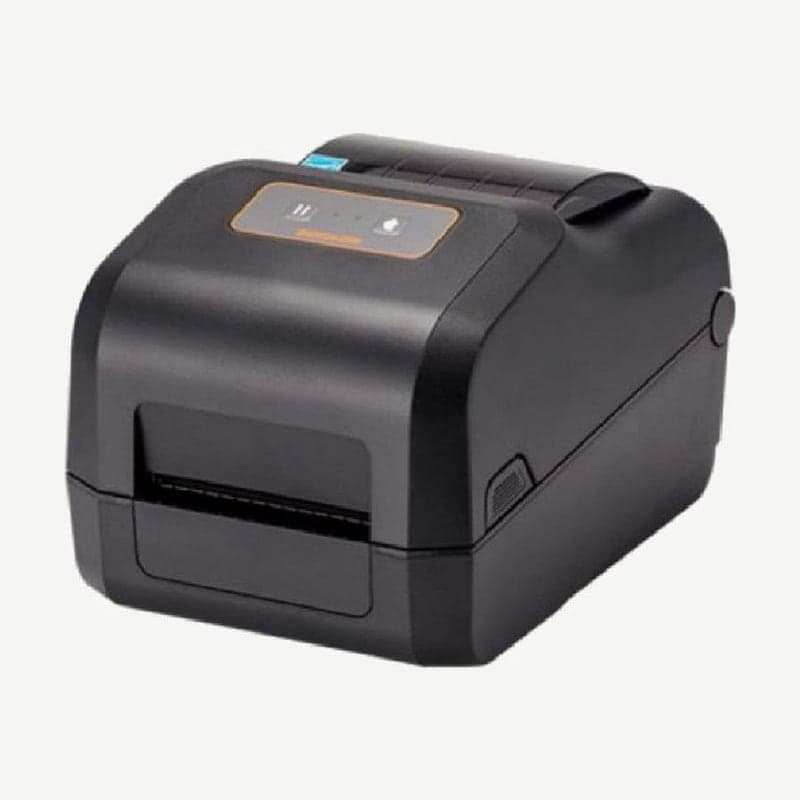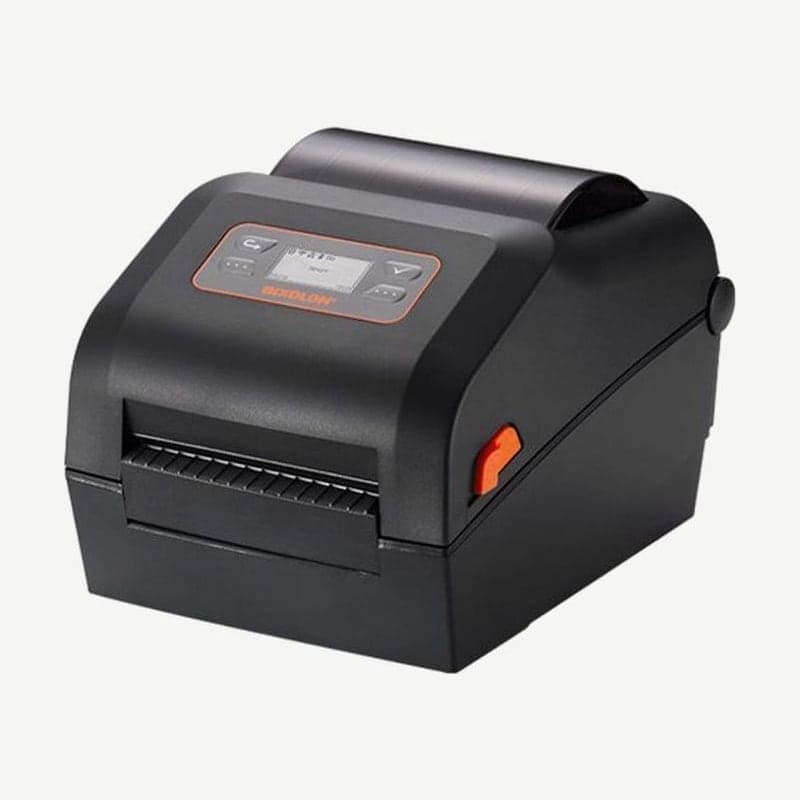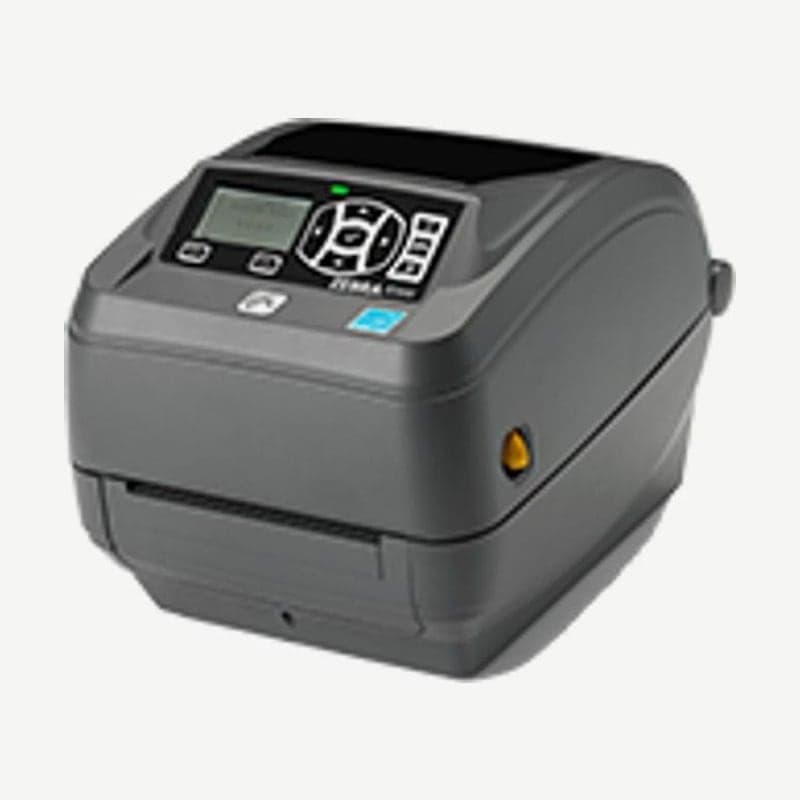
The ZD500R is the model in the ZD500 series with a UHF RFID encoder, writing data to the tag inside the label while printing a barcode on it. It is marked discontinued in Zebra's support list, and drivers and the RFID Programming Guide 3 remain on the ZD500R support page.
UHF encoder frequencies and tag standards
The encoder operates in the 902-928 MHz band in the U.S. version and 865-868 MHz in the European version, and handles ISO 18000-6B and 6C tags. Output is below 30 dBm ERP. For newly ordered tag labels as well, first check that they are one of these 2 standards.
4 steps of tag calibration after media calibration
In tag calibration (ZPL ^HR), the printer moves the label to set the write position and read and write power, and reads the tag's TID to identify the chip type. So media length and gap must be set first.
- Load the tag labels and complete manual media calibration from the SENSORS display menu (it also starts with PAUSE, FEED, and CANCEL for 2 seconds).
- Press FEED once to feed one label.
- Choose home button → RFID menu → RFID CALIBRATE and press the START button at the lower right of the display.
- Labels feed slowly as position and power are set, and when finished it may feed 1 more label.
During calibration, do not peel a single label or tag off the liner. The tags before and after must stay in place so the ZD500R can find write position and power settings that do not also encode neighboring tags. It also backfeeds labels during calibration, so leave some media pulled out the front of the printer.
When you change the type of tag label, redo both calibrations; when only replacing an empty roll of the same media, skip them.
READ RFID DATA and tag test menus
READ RFID DATA reads and displays, from the tag over the antenna, the first 128 bits of the EPC, the first 32 bits of the TID, the EPC, TID, and USER memory sizes, and the access and kill password status. Media does not move while reading, and the head may be open.
The test menu (RFID TEST) has 3 options: quick (EPC read and random data write), read, and write; media does not move in these either.
RFID Setup on the printer web page
The ZD500R has a built-in Ethernet print server, so tags for which calibration does not give the desired result are corrected from a PC browser. Under View and Modify Printer Settings > RFID Setup on the printer web page, there are 3 items: PROGRAM POSITION, RFID READ PWR, and RFID WRITE PWR.
On the front display, RFID PROGRAM POSITION, RFID READ POWER, and RFID WRITE POWER in the RFID menu are the same settings, and the input ranges are as in the specification table above. Increasing or decreasing TEAR-OFF POSITION in the SETTINGS menu does not change the RFID write position.
3 checks when encoding failures repeat
- Redo both media calibration and tag calibration in order, and check that label length and gap detection and tag reading and writing both work.
- Remove other UHF wireless devices, RFID readers, other RFID printers, and bundles of tags near the printer.
- Download and install new firmware from the ZD500R support page. Firmware updates improve behavior or expand support for some RFID media.
For drivers, choose the ZD500R on the ZD500 downloads page and install. Current RFID desktop models are the 4-inch ZD621R and the 2-inch ZD611 RFID model.