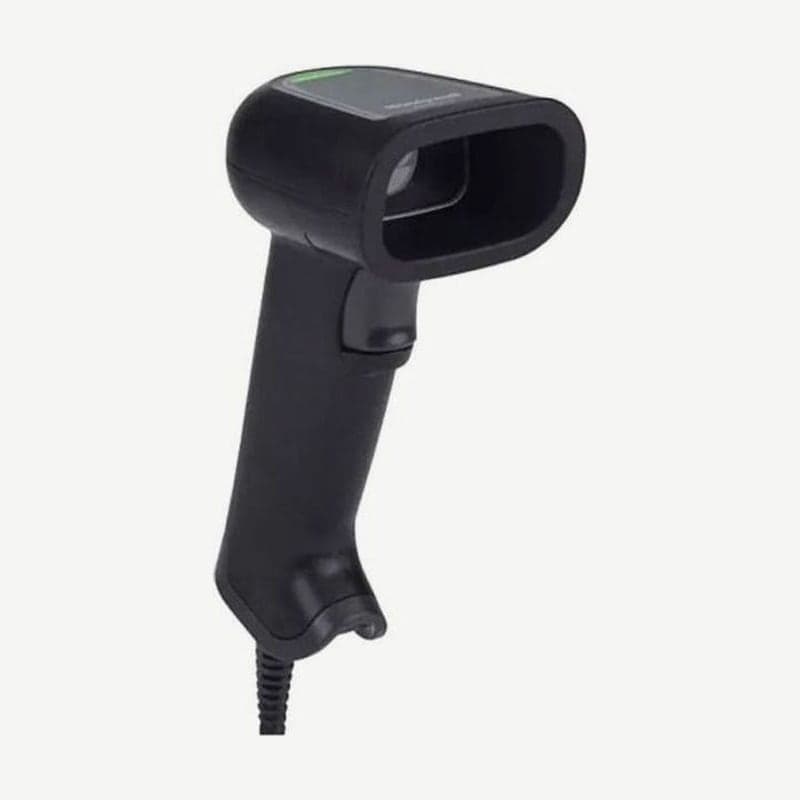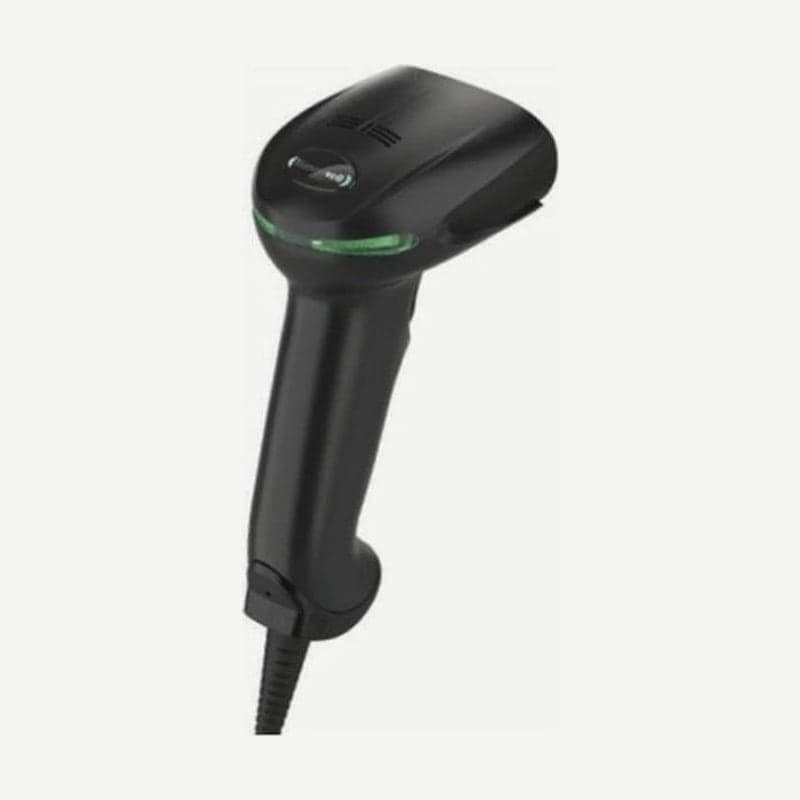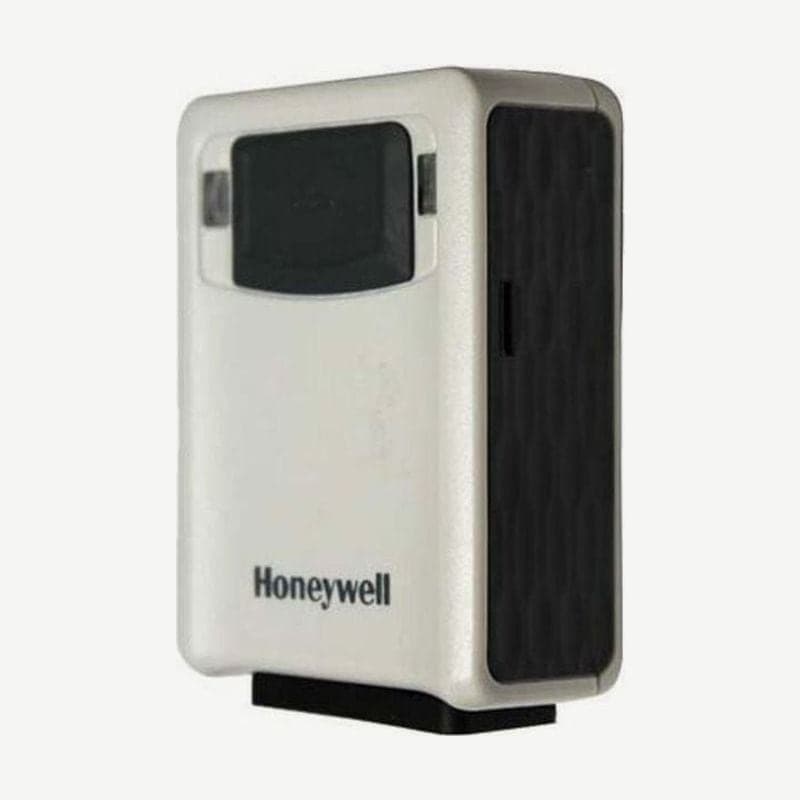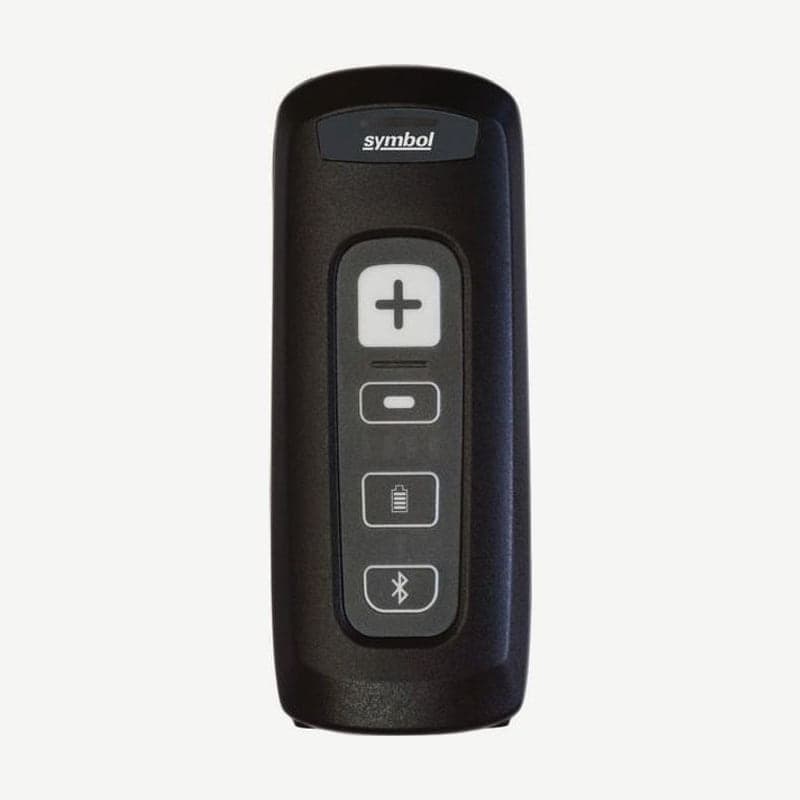
The CS4070 is a pocket 1D/2D scanner whose manufacturer sales ended on September 8, 2021. Zebra customer support ends on November 8, 2026, and for new purchases, choose the CS6080 in the successor CS60 series. Below are the batch files, settings cloning, and charging conditions needed to keep running the CS4070 you use now.
Storage and transmission by batch mode
| Mode | When storing starts | How data is sent |
|---|---|---|
| Normal (default) | Does not store | Sent over Bluetooth as soon as scanned |
| Out of Range | When the connection to the host is lost | Reconnects automatically and sends on returning within range |
| Standard | After scanning the Enter Batch Mode barcode | Sent over Bluetooth with the Send Batch Data barcode |
| Batch Only | Always (radio off) | Connect to a PC by USB and copy the file |
If you scan in Normal mode while not paired with a host, 4 short high beeps sound and no data is kept. Out of Range mode blocks new scans until all stored content has been sent.
When you scan Send Batch Data in Standard mode, the scanner deletes the sent file right away for security. If the input field of the receiving program is not opened first, that batch of data cannot be recovered.
When plugged into a PC with the USB cable, the CS4070 appears as a removable disk, and you copy the text file in the \Scanned Barcodes folder. If the copied file is not deleted, the batch mode cannot be changed, and scanning does not work while the cable is plugged in.
To delete a code scanned by mistake in batch mode, aim at that barcode again and press the (-) button; only that one entry is deleted. Holding the (-) button for 3 seconds deletes everything stored, and when memory is full, a long beep sounds for 5 seconds when scanning.
5 steps to put the same settings on several units
- Set up one reference unit with setting barcodes or 123Scan. 123Scan creates 2D setting barcodes, and the CS4070 does not read 1D setting barcodes.
- Connect the reference scanner by USB and copy its Config.ini file to the PC.
- Delete the BTName line or leave it empty as "BTName=", and each scanner is discovered as "CS4070:serial number" so they can be told apart.
- Connect the remaining scanners one at a time by USB and overwrite their Config.ini.
- On each cloned scanner, scan the date and time setting barcodes on page 6 of chapter 3 to set the clock.
Firmware replacement takes three steps: USB connection, file copy, and safe removal. Place the .dat and .bin files in the top-level folder of the scanner and safely remove it; a few minutes later the LED turns green and installation is complete.
Bluetooth 2.1 pairing and unpairing
- Press the scan button (+) to wake the scanner.
- Press the Bluetooth button until it beeps and the blue LED blinks, to put it in discoverable mode.
- Select CS4070 in the host's Bluetooth list.
- If asked for a PIN, scan the PIN entry barcodes in Appendix C, then scan Enter.
The CS4070 remembers the PINs of the 8 most recently paired hosts, so from the second time on it connects without entry.
The default connection is HID, which inputs like a keyboard; if the receiving program reads a serial port, change it to SPP. With SPP, characters created by accidentally tapping the tablet screen do not get mixed into the barcode data.
Press the Bluetooth button for 2 seconds to disconnect briefly, and press it again to reconnect to the same host. Hold it for more than 5 seconds to disconnect and search for a new host, and to move completely to another device, scan the Unpair barcode on page 10 of chapter 3.
Charging temperature and 3 cradles
The battery charges at 0-35°C; above 30°C the scanner and cradle regulate charging, and above 35°C charging stops.
The CHS5000-1000CR charges 1 scanner and 1 spare battery together, the CHS5000-8000CR charges 8 scanners, and the SAC5000-8000CR charges 8 batteries. The Bluetooth connection is maintained in the 1-slot and 8-slot scanner cradles, and there is no wired Ethernet communication.
If charging from a PC's USB hub does not reach full, plug into a powered hub (5 V, up to 500 mA). Removing the battery reboots the scanner, but an internal backup battery keeps the clock.
Before sending it for repair, open sysinfo.txt in the scanner's \Parameters folder. The serial number and 4 versions (software, Bluetooth, scan engine) are all in this one file.