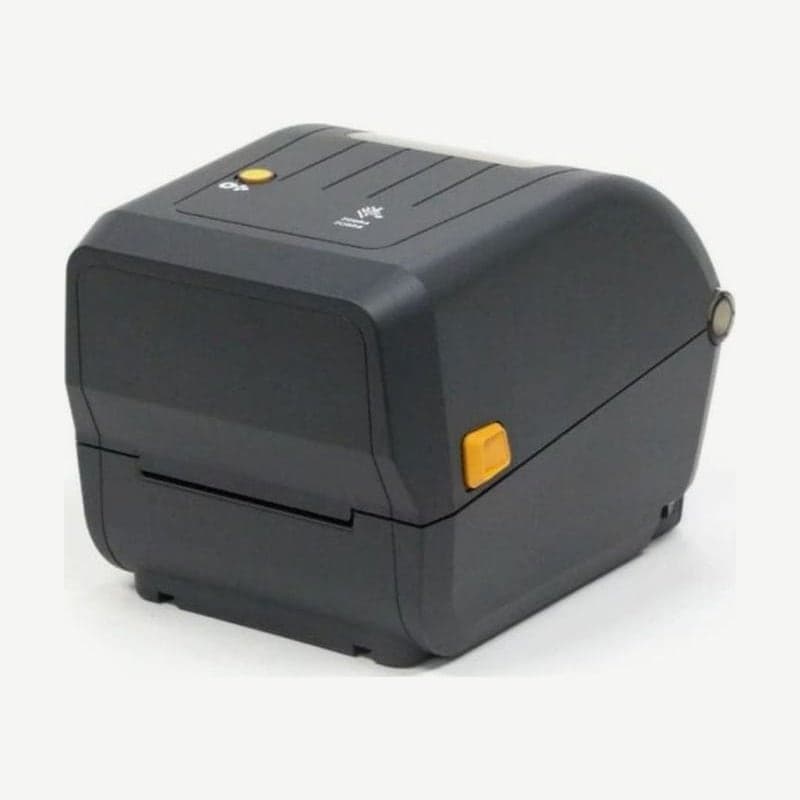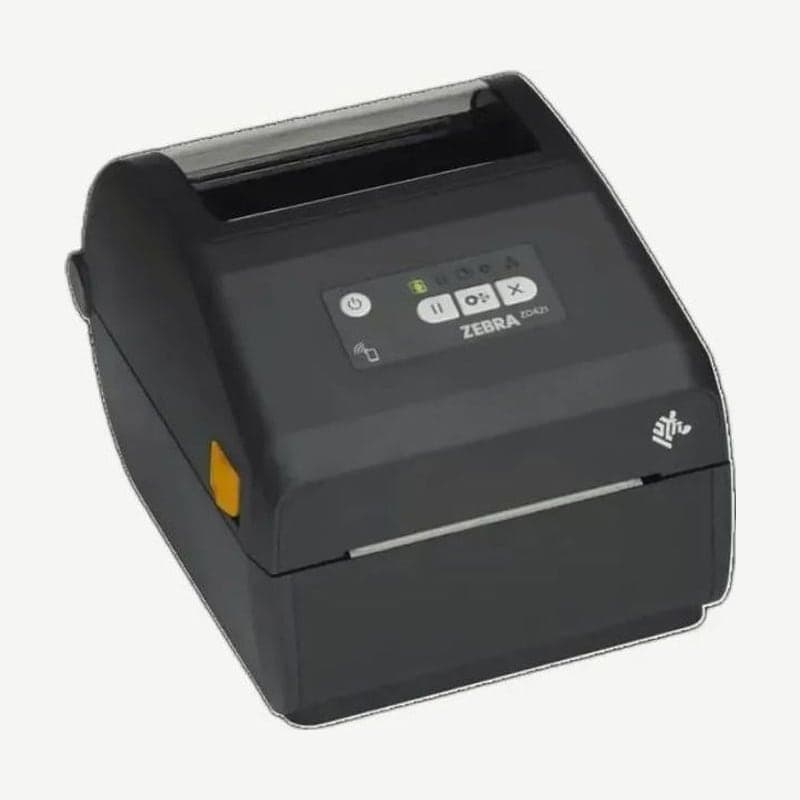
The ZD421t is the thermal transfer model in the ZD421 series that takes the ribbon as a roll. It accepts media 15-112 mm wide, 4 mm wider than the direct thermal ZD421d (108 mm), and takes both 300 m and 74 m ribbon rolls.
The ZD421t starts with two ports, USB 2.0 and USB Host. When Ethernet or RS-232 serial is needed, a field upgrade module is inserted into the rear slot, and Wi-Fi is bought as a factory-installed configuration or added later as a module.
Two ribbon roll types and included parts
| Ribbon | Core inner diameter | Roll OD | Ribbon to media |
|---|---|---|---|
| 300 m | 25.4 mm | 66 mm | 1:4 |
| 74 m | 12.7 mm | 34 mm | 1:1 |
The ZD421t box contains one 12.7 mm and one 25.4 mm empty take-up core, and 2 core adapters for third-party 300 m ribbons. These empty cores are used only when loading the first roll; after that, the used supply-side core is moved to the take-up side.
Notch positions on genuine ribbon cores
Before loading a Zebra ribbon, first check that there are notches at the left end of the ribbon roll and the empty core. 74 m ribbons also have a notch at the right end. Third-party 300 m ribbons are loaded with the 2 included adapters instead of this procedure.
- Fit the empty core on the upper take-up spindle: push it onto the right spring-loaded side first, then rotate it to align with the left hub so the notches engage.
- Fit the new ribbon roll on the lower supply spindle the same way.
- Attach the ribbon end to the empty core with the new roll's adhesive strip, and turn the take-up hub with the top moving toward the back to remove slack.
- If the power is on, close the cover and FEED more than 20 cm of media to remove ribbon slack and wrinkles.
Jobs sent as direct thermal with a ribbon loaded
When the ZD421t receives a direct thermal job with a ribbon loaded, it does not print and gives a ribbon-in error. If a ribbon is loaded, change the print method in the driver or label program to thermal transfer, and where jobs are sent in ZPL, check the ^MT command.
When going back to direct thermal media, remove the ribbon rolls from both spindles and set the driver print method back to Direct Thermal. Load a ribbon wider than the label to reduce head wear; the width that fits the ZD421t is 33.8-109.2 mm.
Connections added with field-installable modules
The rear module slot takes either a 10/100 Ethernet module or an RS-232 serial module, and Wi-Fi modules added later come in two types, 802.11ac and 802.11ax. How to open the rear module cover and set the power-loss recovery jumper is described on the ZD421 direct thermal model page.
Install all modules, cutters, and peelers before setting up the ZD421t for the first time so setup finishes in one pass; the options also contain firmware, so update the printer firmware to the latest after installing them. Driver and firmware files are on the ZD421 downloads page.