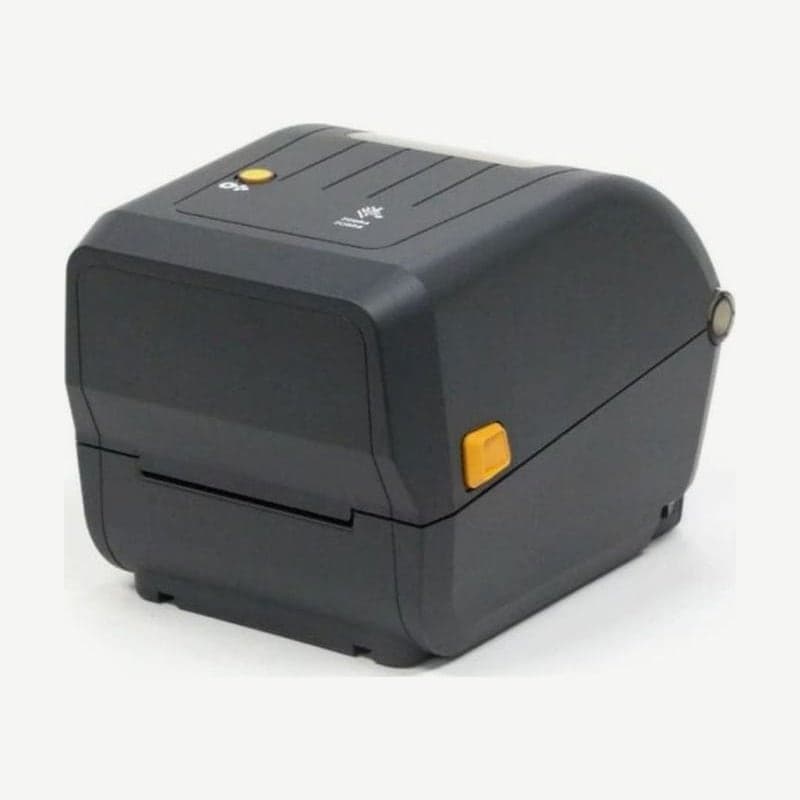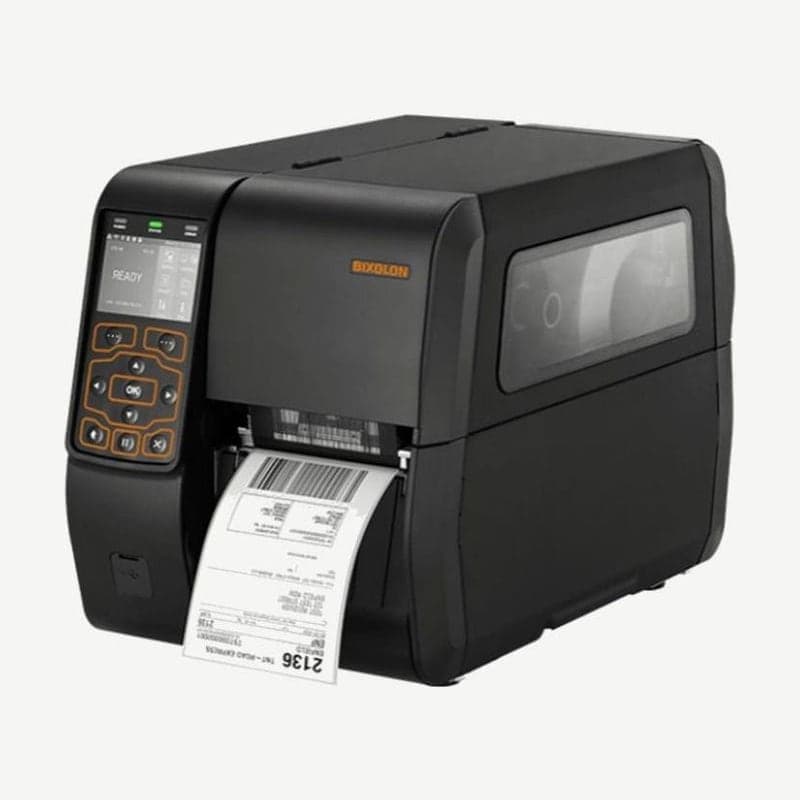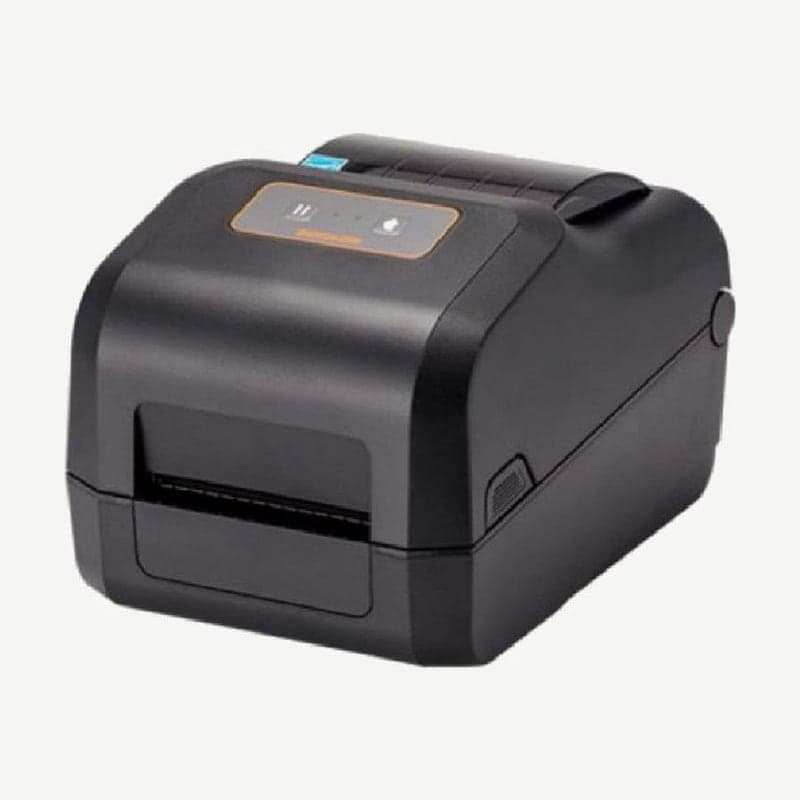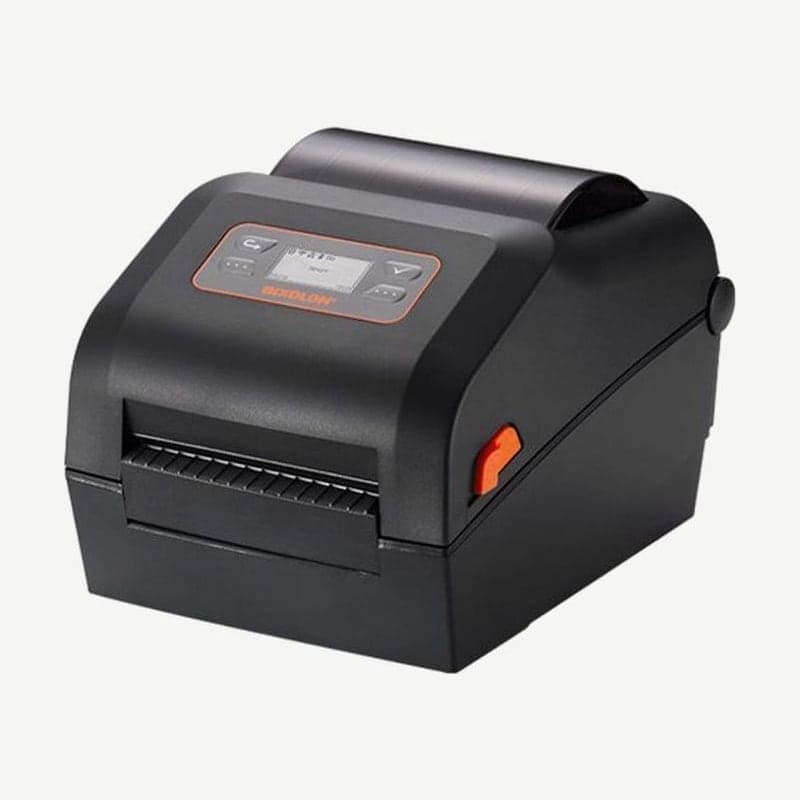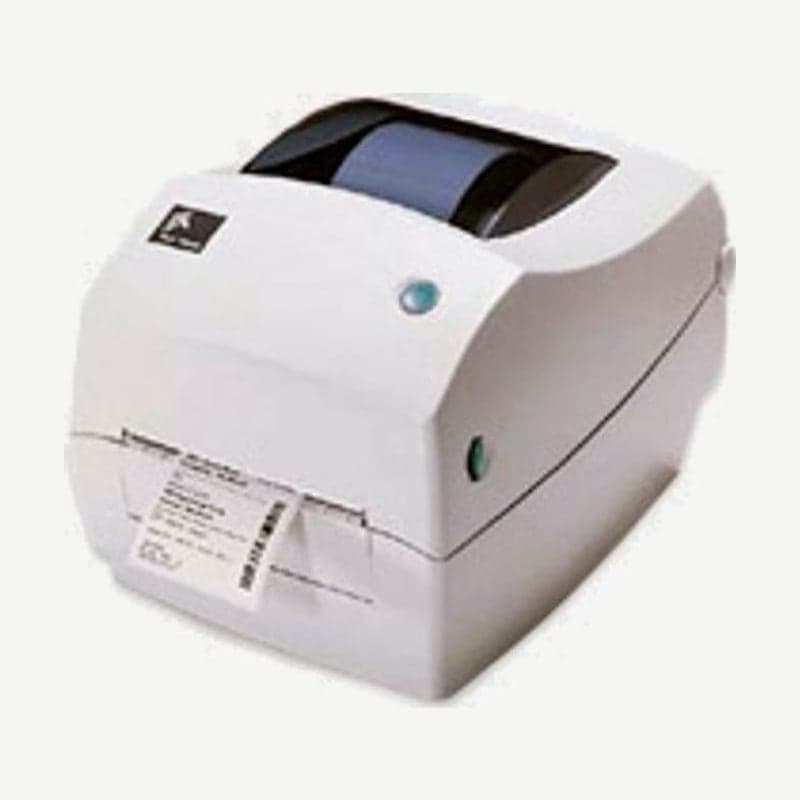
The TLP2844 determines whether a ribbon is present by whether the ribbon supply spindle turns. With a ribbon loaded it prints on thermal transfer media, and with the ribbon removed it prints on direct thermal media; it receives formats as EPL2 page mode commands.
The rear ports are one of two combinations: USB 1.1, parallel, and RS-232, or USB 1.1, Ethernet, and RS-232. Which of the two combinations a unit has determines which of the 3 ZD200 series thermal transfer models to replace it with.
Telling the EPL2 TLP2844 from the ZPL TLP2844-Z
The two models are distinguished by the single -Z at the end of the model name on the nameplate. The TLP2844 receives formats as EPL2 commands, and a reset that erases all saved settings is also done by sending the ^default command.
The TLP2844-Z receives ZPL II commands, and calibration and reset are chosen by the number of indicator flashes while holding the FEED button.
Replacing the ribbon and reloading a partly used ribbon
If the ribbon runs out mid-job, the TLP2844 lights the red indicator and waits for a new roll. The moment the power switch is turned off, the waiting job is lost, so replace the ribbon with the power on.
- Open the top cover, cut the used ribbon, and remove the supply and take-up cores.
- Pass the new ribbon through the carriage, press the right side onto the supply hub, then fit the left notch onto the hub spokes.
- Fit an empty core onto the take-up hub the same way and attach the adhesive strip at the end of the ribbon.
- Turn the take-up gear counterclockwise to remove slack from the ribbon and close the cover.
- Press the FEED button, and the stopped printing resumes.
To store a partly used ribbon, cut the ribbon at the take-up roll and discard the used part, and tape down the end of the new ribbon on the supply roll. When loading this roll again later, tape the cut end to an empty take-up core. One take-up core for first use is included in the product box; after that, the emptied supply core becomes the take-up core for the next roll.
Serial factory settings and the Ethernet configuration label
The TLP2844's USB is version 1.1. On Ethernet models, load media, close the cover, and press the test button next to the connector to print a network configuration label.
The serial port factory settings are 9600 bps, no parity, 8 data bits, and 1 stop bit. While communicating with the PC at the same settings, change the printer side first with the Y command, then match the PC settings to the new settings.
Label length measurement and dump mode
- With media loaded and the cover closed, turn off the power.
- Hold the FEED button while turning the power on, and release the button when the indicator flashes.
- The printer feeds media to measure the length of one label, prints a status summary, and stays in dump mode.
- Press the FEED button once, and "out of DUMP" prints, one label comes out, and it returns to normal.
In dump mode, data sent by the PC prints as is in ASCII characters and hexadecimal. When a format is sent but no label comes out, use this output to check whether the data reached the printer.
Comparison of the 3 ZD200 series thermal transfer models
In the ZD200 series Zebra designated in place of the TLP2844, there are three models that take a ribbon: the ZD220 thermal transfer, the ZD230t, and the ZD230TA. All three accept EPL2 formats, and the standard port is USB 2.0.
| Model | Ribbon | Connections besides USB | When replacing this kind of TLP2844 |
|---|---|---|---|
| ZD220 thermal transfer | 74 m | None | Units connected to one PC with a single USB port |
| ZD230t | 74 m, 300 m | Ethernet, Wi-Fi and Bluetooth (factory installed) | Ethernet TLP2844 |
| ZD230TA | 74 m, 300 m | USB-serial option | TLP2844 connected to equipment by RS-232 serial |
The ZD230TA specification has no Ethernet, so replacing an Ethernet TLP2844 that was shared over the LAN with a ZD230TA cuts off the network connection. None of the three models has a parallel port.