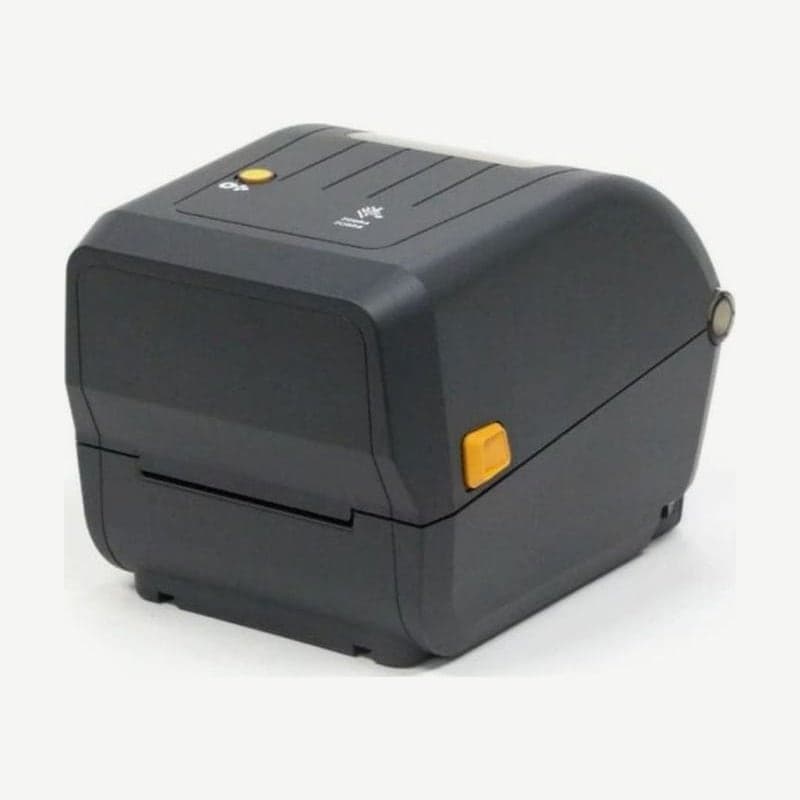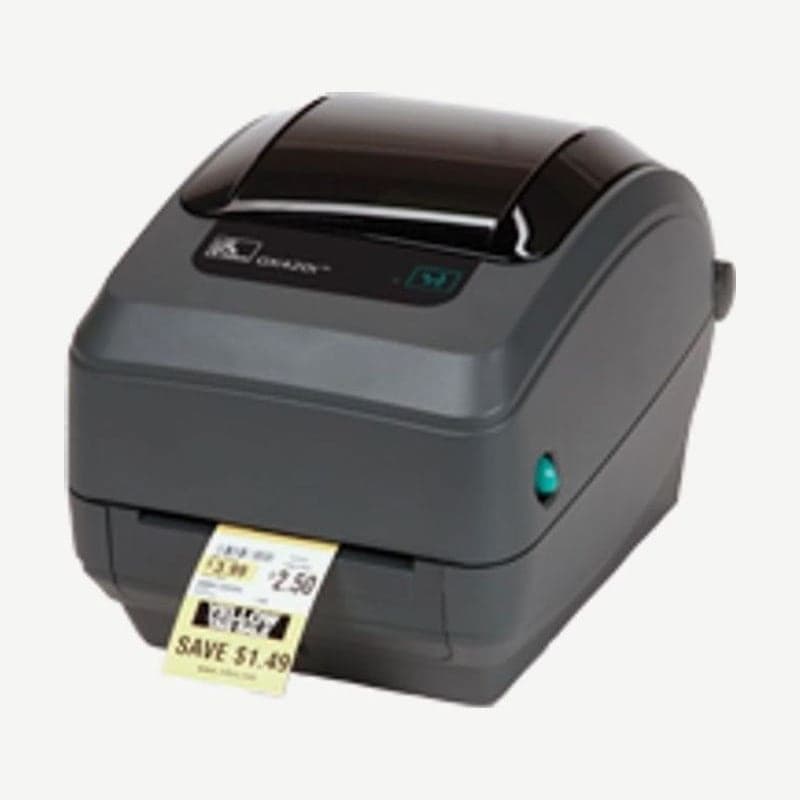
The GK420t printhead, removed without screws
The GK420t is a 203 dpi 4-inch desktop printer that does both thermal transfer with a ribbon and direct thermal without one. The printhead is held by latch tabs instead of screws, so it is removed and installed with a single blunt-tipped rod 2.5-3.8 mm in diameter.
- Turn off the power, unplug the cord, and remove the loaded ribbon.
- With a small flat-blade screwdriver, lift the right tab of the ribbon guide off the ribbon frame, and pull the left side to remove the guide.
- Insert a 2.5-3.8 mm rod into the round head release holes in the ribbon frame, press the latch tabs on the right and then the left, and lower the head bracket.
- Unplug the 2 cable bundles and the green ground wire from the head.
- Connect the new head in this order: left connector (fits only one way), ground wire, right connector.
- Insert the bracket tabs into the ribbon frame slots, press the head spring slots onto the 5 posts, then reinstall the ribbon guide.
- Check that the head moves up and down when pressed and locks when released, wipe off fingerprints with a new cleaning pen, and print 1 configuration label.
Adhesion test to rule out inside-coated ribbons
The GK420t uses only ribbons wound with the coated side toward the outside of the roll. Peel off 1 label, press a corner of its adhesive side against the outer surface of the ribbon roll, and pull it off: if ink residue comes off onto the label, it is outside-coated and can be loaded; if not, it is inside-coated and cannot be used on this printer.
Ribbon cores for older desktop printers notched on one end only are larger and catch on the take-up spindle, so do not use them. Cores with damaged notch edges also risk slipping on the spindle, so do not use them either. Slipping causes ribbon wrinkles and ribbon-out detection errors. After loading the ribbon, turn the thumb wheel on the left of the supply spindle toward the back to pull the ribbon taut over the head, and feed out 10 cm or more of media with FEED.
Platen roller cleaning
If labels slip or stick and print quality drops noticeably, remove the platen roller and clean it. Press the locking tabs on both sides outward and rotate up to release the roller, then wipe it from the center outward with a lint-free swab moistened with medical alcohol. Check that the bearings and drive gear are on the shaft, reinsert it with the gear on the left, let it dry for 1 minute, and close the cover.
300 m and 74 m ribbons on the successor ZD421t
GK420t sales ended in all regions between December 31, 2021, starting in Asia-Pacific, and January 31, 2022. Zebra repair and technical support also ended on April 30, 2025 (February 28 in Asia-Pacific), and the successor Zebra designated is the ZD421.
The thermal transfer successor, the ZD421t, takes both 300 m ribbons on a 25.4 mm core with 66 mm OD and 74 m ribbons on a 12.7 mm core with 34 mm OD. Third-party 300 m ribbons are loaded fitted to the 2 included adapters. GK420t drivers are on the GK420t download page.