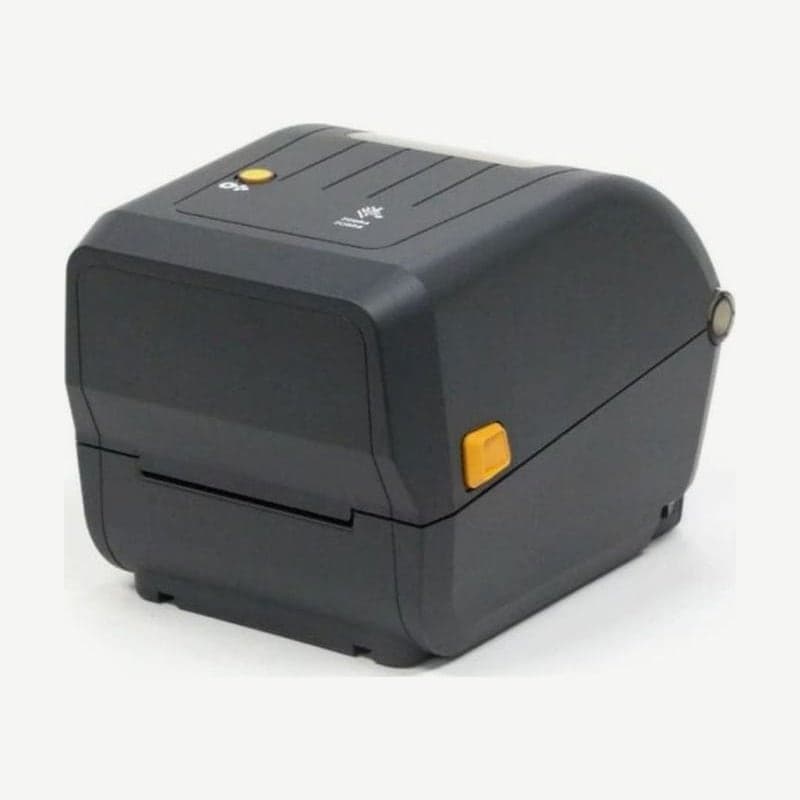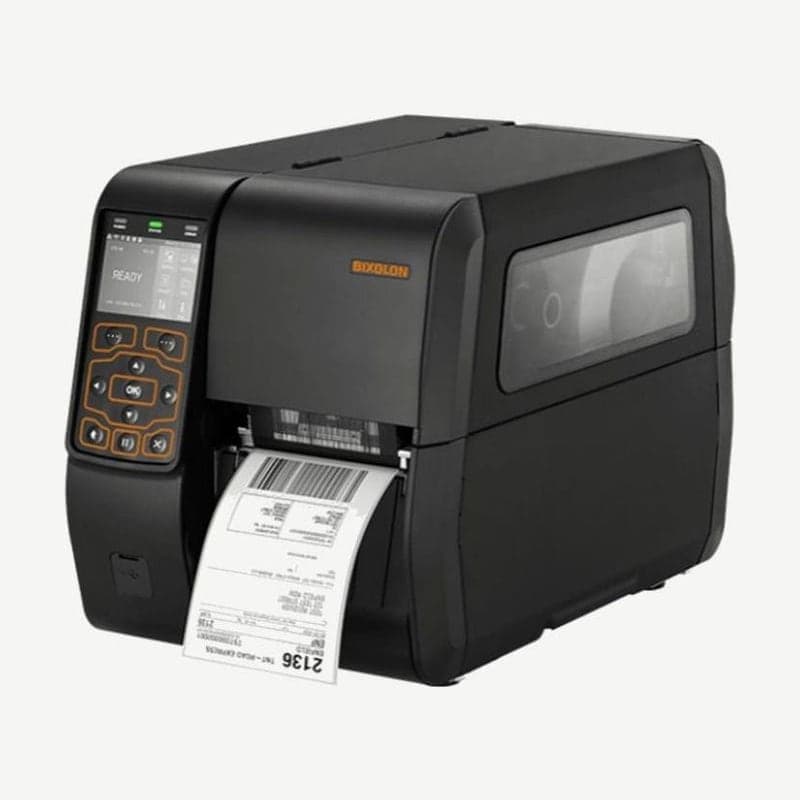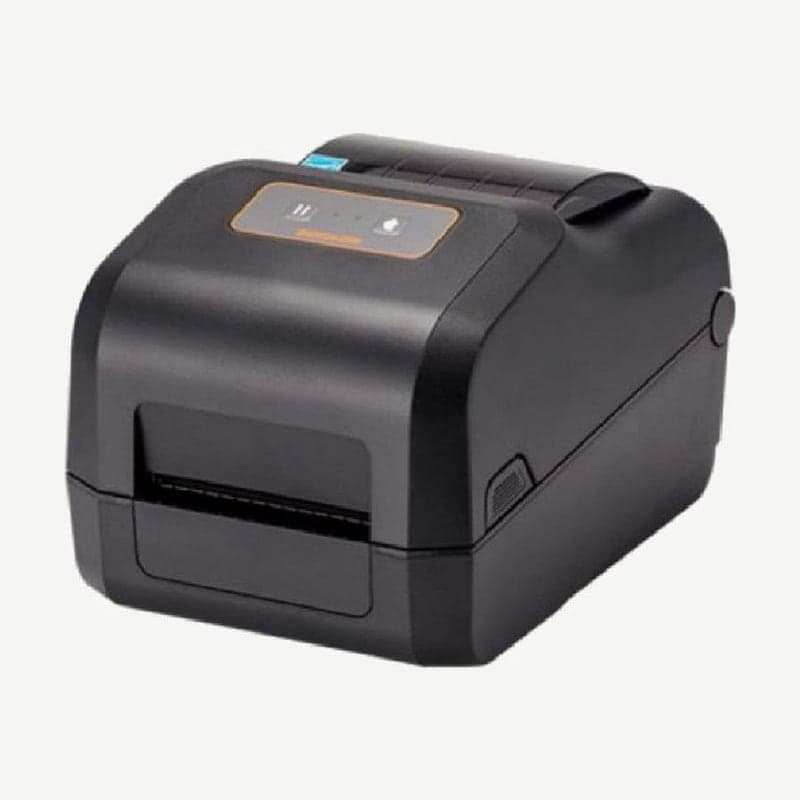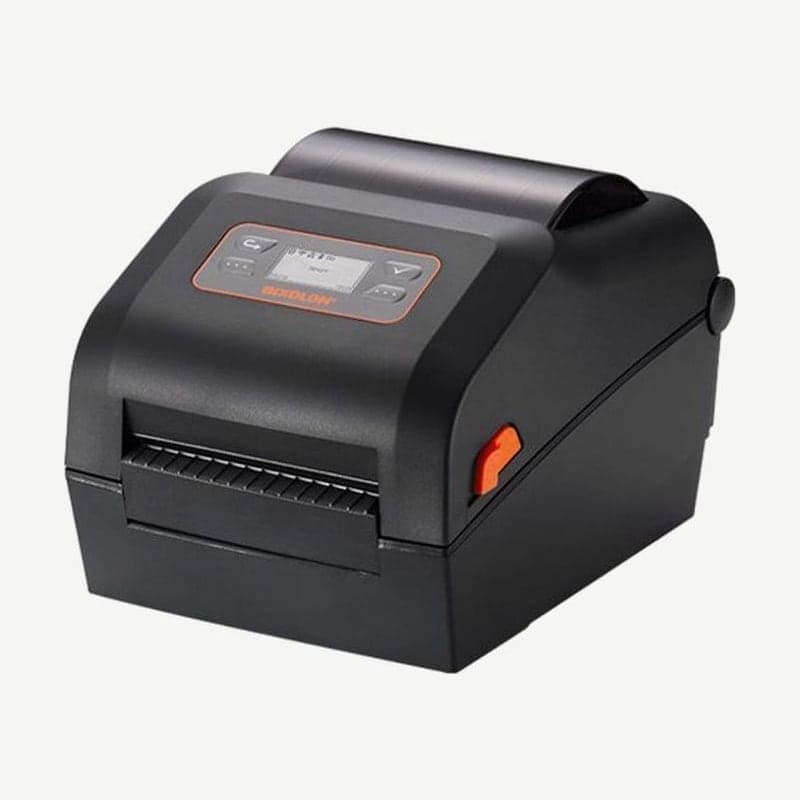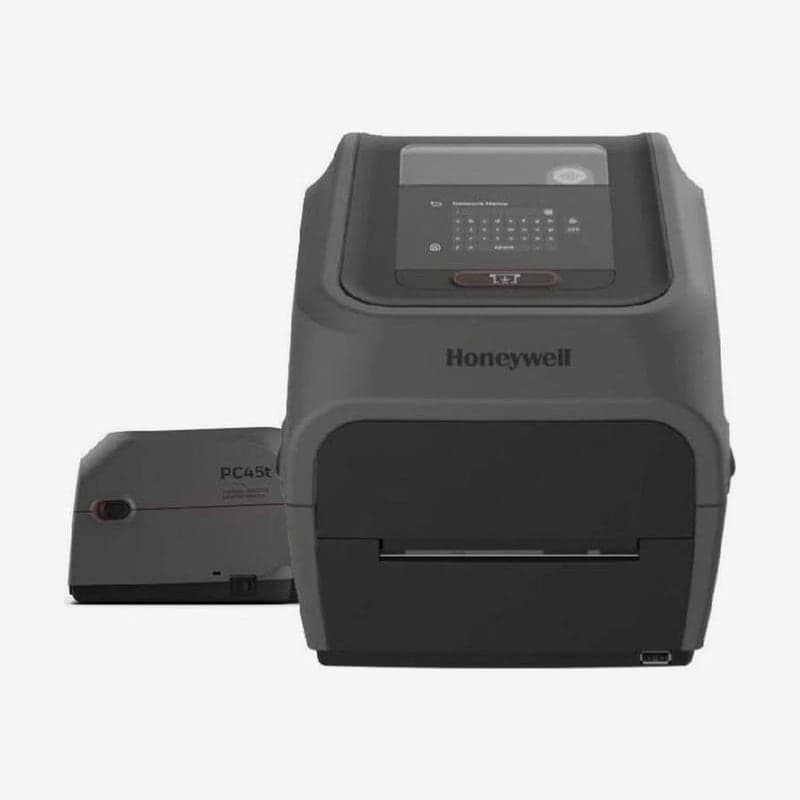
The PC45t is a 4-inch desktop label printer that prints with a ribbon loaded, and it accepts both ribbons with the ink side in (CSI) and ink side out (CSO). It comes in two resolutions, 203 dpi and 300 dpi; the 203 dpi model prints up to 8 inches per second (8 ips) and the 300 dpi model up to 6 inches per second. Settings are made on the 3.5-inch touchscreen on the front, which responds to fingers as well as gloves and styluses.
Checking ribbon wind direction and loading steps
To find the wind direction of a ribbon you have, place the ribbon on paper and scratch it with the tip of a pen. If a mark is left on the paper, it is a ribbon with the ink side out (Ink-out).
- Press the latch forward to open the cover, and fit the ribbon roll between the rear ribbon holders.
- Fit an empty take-up core on the front holder, attach the end of the ribbon, then turn the slack wheel to take up the loose ribbon.
- Set the ribbon selection switch to Ink-in or Ink-out, and close the cover until it clicks.
- In the main menu, go to Settings > Printing > Media > Print Method, choose Ribbon (TTR), and save.
Ribbons 25-110 mm wide, up to 68 mm roll OD and 300 m long can be loaded, on 0.5-inch and 1-inch cores. For ribbons whose cores have no notches or that are narrow, fit the optional 0.5-inch or 1-inch ribbon core adapter before loading.
Media width 15-118 mm and minimum label length by option
Media width is 15-118 mm, but the actual printed width is 108 mm at 203 dpi and 106 mm at 300 dpi. The maximum length of a single label also differs by resolution: 1,727 mm at 203 dpi and 900 mm at 300 dpi.
| Configuration | Minimum label length |
|---|---|
| Printer alone (tear-off) | 6.35 mm |
| With self-strip module | 12.7 mm |
| With cutter module | 25.4 mm |
Rolls up to 127 mm OD fit inside the unit, on three core sizes: 12.7, 25.4, and 38.1 mm. Larger rolls or tags are fed through the external feed slot on the back, and with the external media holder, rolls up to 213 mm OD can be loaded.
Media cut by the cutter module (min 25.4 mm)
A PC45t with the cutter module cuts non-adhesive continuous media, and for labels with a liner, it is set to cut only the liner between labels. Cutting through the adhesive makes glue stick to the blade, stopping the cutter and even damaging the motor. Pass the media through the cutter slot, then change Cutter Control to Automatic in Settings > Printing > Cutter, and it cuts one label at a time. A cutter tray that holds up to 20 cut labels is sold separately. The cutter for linerless media (Linerless Cutter) is for the PC45d only and is not fitted to the PC45t.
Connection ports and switching to ZPL-II and EPL commands
The standard ports are Ethernet 10/100 and USB 2.0 device and host. RS-232 is optional. When you plug in an Ethernet cable and power on, the IP address received by DHCP appears at the bottom left of the screen, and a static IP is entered separately for IPv4 and IPv6 in Settings > Communications > Ethernet. Wi-Fi (802.11 a/b/g/n/ac/ax) is used only when the Wi-Fi module is installed, and Bluetooth 5.2 is installed in the field or at the factory.
Sites that sent ZPL-II layouts change the command language to ZSim, EPL layouts to ESim, and Datamax layouts to DPL. Log in to the printer web page, choose Command Language under Configure > System Settings > General, and restart to apply it. When creating label layouts from scratch, use the free Goodlabel Designer (free label design software).
PC45t printhead cleaning interval and method
Clean the printhead every time you change media.
- Turn off the power, unplug the power cord, open the cover, and remove the media and ribbon.
- Slide most of a cleaning card under the head and lower the head.
- Remove the card, raise the head, and wait about 30 seconds for the cleaning fluid to dissolve residue. If it is not clean enough, repeat steps 2-3.
- Wipe any residue left on the platen roller or tear bar with a cotton swab moistened with isopropyl alcohol, and when it is fully dry, load the media and ribbon again.